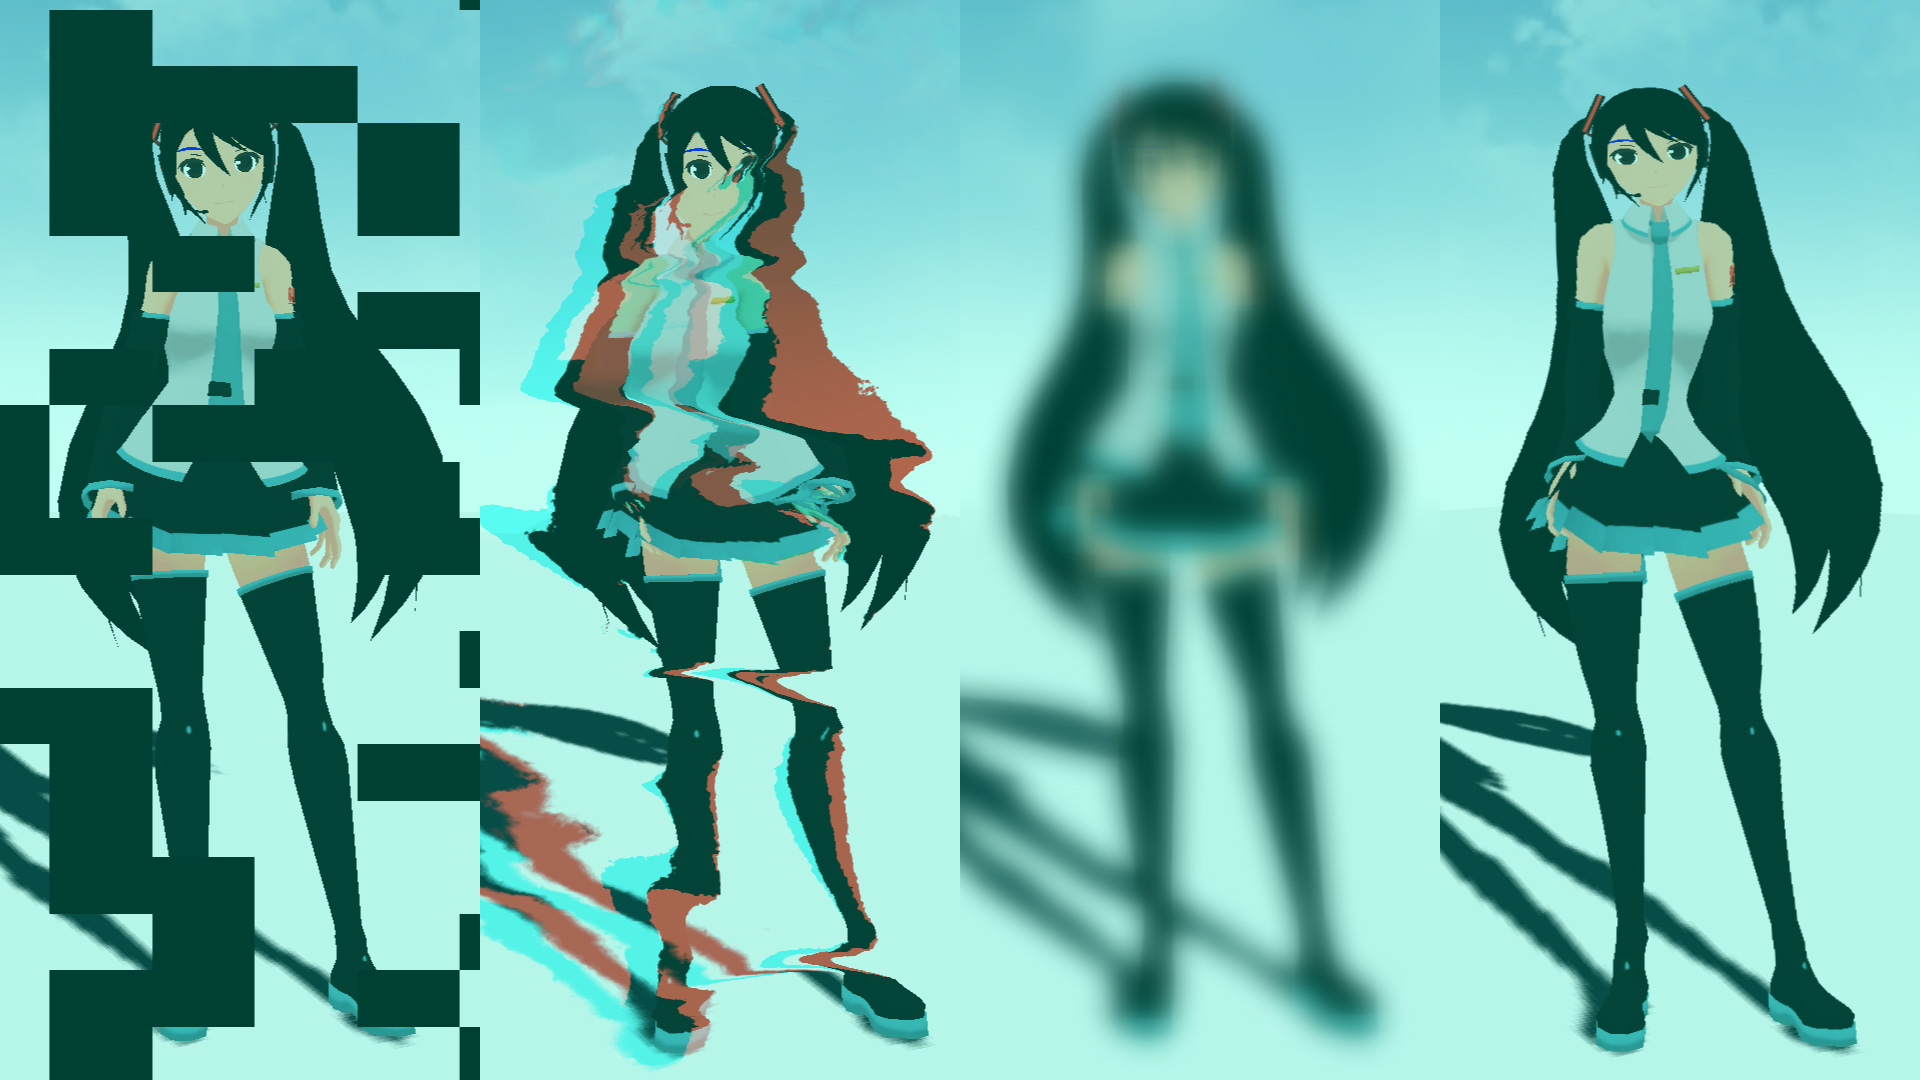
ポストプロセスを通じて、fragment shaderをいじってフィルターを作っていこうと思います。デモとして、グリッチフィルターを作成いたしました。備忘録も含めて、いろいろなテクニックを紹介していこうと思います。今回は、画像処理の3回目、スクリーン(画面)編です。
【Demo】misora.main.jp/post-glitch/
1.PostProcessingの下準備
threejs.org

自作のポストプロセッシングするための準備です。まず、何もエフェクトがかかっていない真っさらな状態を作成します。ひとつ、three.jsのフォルダからshaderPass.jsをコピーして、設定を追加します。
three.js
import { EffectComposer } from 'three/examples/jsm/postprocessing/EffectComposer.js';
import { RenderPass } from "three/examples/jsm/postprocessing/RenderPass";
import { ShaderPass } from './ShaderPass.js';

import Vertex from "./vertex.glsl";
import Fragment from "./fragment.glsl";
const effectComposer = new EffectComposer( renderer );
//
effectComposer.addPass(new RenderPass(scene, camera));
effectComposer.setPixelRatio(Math.min(window.devicePixelRatio, 2.0));
effectComposer.setSize( window.innerWidth, window.innerHeight );
//1)My PostProcessing Shader
const PostProcessingShader = {
uniforms: {
tDiffuse: { type:"t", value:null },
time: { value: 0.0 },
//
u_resolution: { value: new THREE.Vector2(window.innerWidth, window.innerHeight)},
//
// udisplayment: { value: new THREE.TextureLoader().load("______.png")}
uStep: { value: 0.5 },
//
},
vertexShader: Vertex,
fragmentShader: Fragment,
};
const MyEffectPass = new ShaderPass(PostProcessingShader);
effectComposer.addPass(MyEffectPass);
//MyEffectPass.material.uniforms.udisplayment.value.wrapS = THREE.RepeatWrapping;
//MyEffectPass.material.uniforms.udisplayment.value.wrapT = THREE.RepeatWrapping;function rendeLoop() {
//stats.begin();//stats計測
//renderer.render(scene, camera) // render the scene using the camera
effectComposer.render();
requestAnimationFrame(rendeLoop) //loop the render function
//stats.end();//stats計測
}
rendeLoop() //start renderingvertex.glsl
/*vertex.glsl*/
varying vec2 vUv;

void main() {
    vUv=uv;
    gl_Position = projectionMatrix * modelViewMatrix * vec4( position, 1.0 );
    // vec4 modelPosition = modelMatrix * vec4(position, 1.0);
    // vec4 viewPosition = viewMatrix * modelPosition;
    // vec4 projectionPosition = projectionMatrix * viewPosition;
    // gl_Position = projectionPosition;
}
fragment.glsl
/*fragment.glsl*/
uniform sampler2D tDiffuse; /*表示される画像*/
uniform float time;
varying vec2 vUv;

void main() {

 	vec2 uv = vUv;
	vec4 bg_color =  texture2D(tDiffuse, uv);


	////////////////////////////////////////////////////////////////////////////////////////
	// 出力
	gl_FragColor = vec4(bg_color);

}
ShaderPass.js
import { ShaderMaterial, UniformsUtils } from 'three';
import { Pass, FullScreenQuad } from 'three/examples/jsm/postprocessing/Pass.js';

class ShaderPass extends Pass {

	constructor( shader, textureID ) {

		super();

		this.textureID = ( textureID !== undefined ) ? textureID : 'tDiffuse';

		if ( shader instanceof ShaderMaterial ) {

			this.uniforms = shader.uniforms;

			this.material = shader;

		} else if ( shader ) {

			this.uniforms = UniformsUtils.clone( shader.uniforms );

			this.material = new ShaderMaterial( {

				name: ( shader.name !== undefined ) ? shader.name : 'unspecified',
				defines: Object.assign( {}, shader.defines ),
				uniforms: this.uniforms,
				vertexShader: shader.vertexShader,
				fragmentShader: shader.fragmentShader

			} );

		}

		this.fsQuad = new FullScreenQuad( this.material );

	}

	render( renderer, writeBuffer, readBuffer, deltaTime, /*, deltaTime, maskActive */ ) {

		if ( this.uniforms[ this.textureID ] ) {

			this.uniforms[ this.textureID ].value = readBuffer.texture;

		}
  // Add
		if ( this.uniforms[ 'time' ] ) {

			this.uniforms[ 'time' ].value += deltaTime;

		}
    //

		this.fsQuad.material = this.material;

		if ( this.renderToScreen ) {

			renderer.setRenderTarget( null );
			this.fsQuad.render( renderer );

		} else {

			renderer.setRenderTarget( writeBuffer );
			// TODO: Avoid using autoClear properties, see https://github.com/mrdoob/three.js/pull/15571#issuecomment-465669600
			if ( this.clear ) renderer.clear( renderer.autoClearColor, renderer.autoClearDepth, renderer.autoClearStencil );
			this.fsQuad.render( renderer );

		}

	}

	dispose() {

		this.material.dispose();

		this.fsQuad.dispose();

	}

}

export { ShaderPass };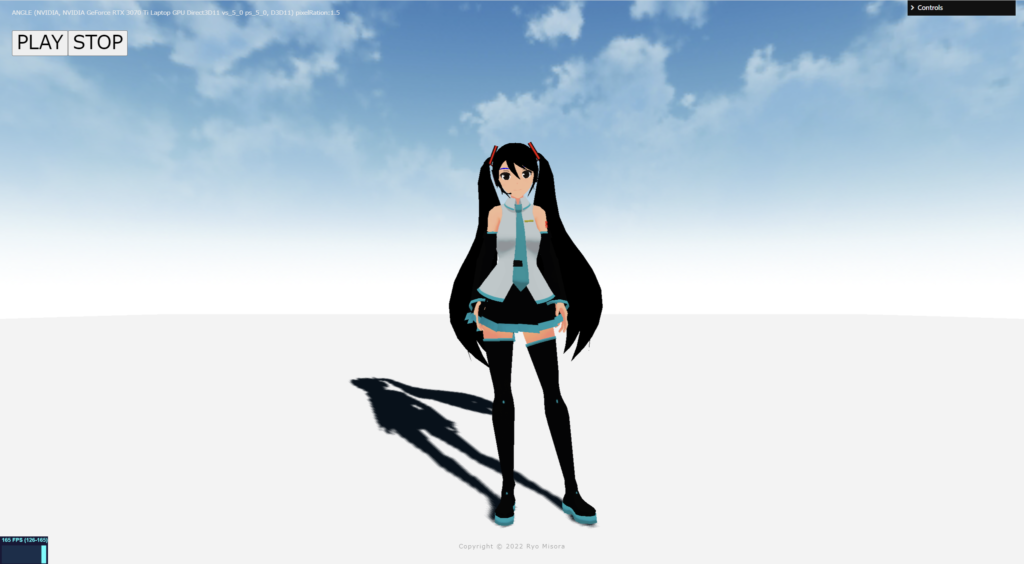
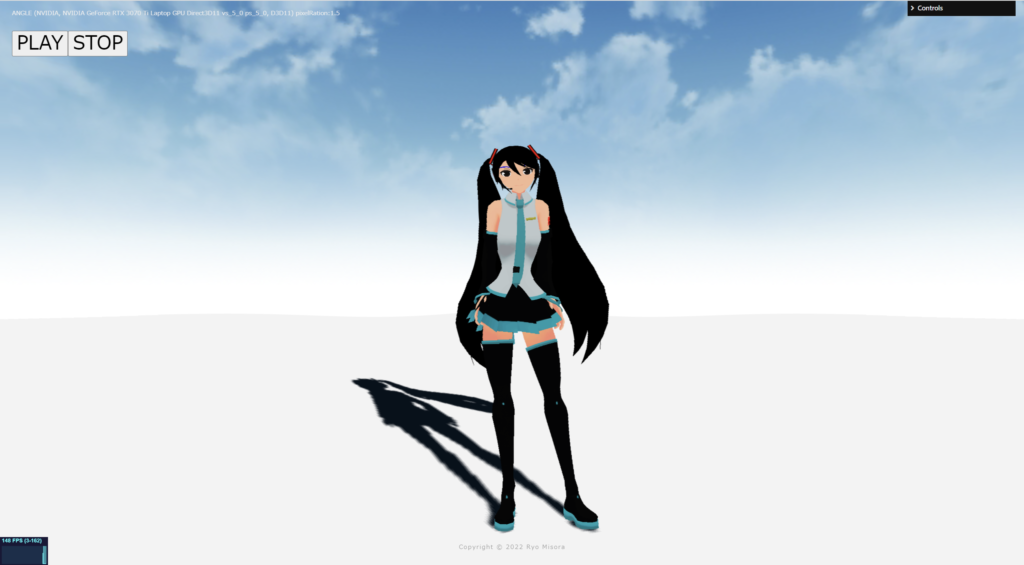
何もエフェクトを設定していない、素の状態が完了しました!
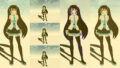
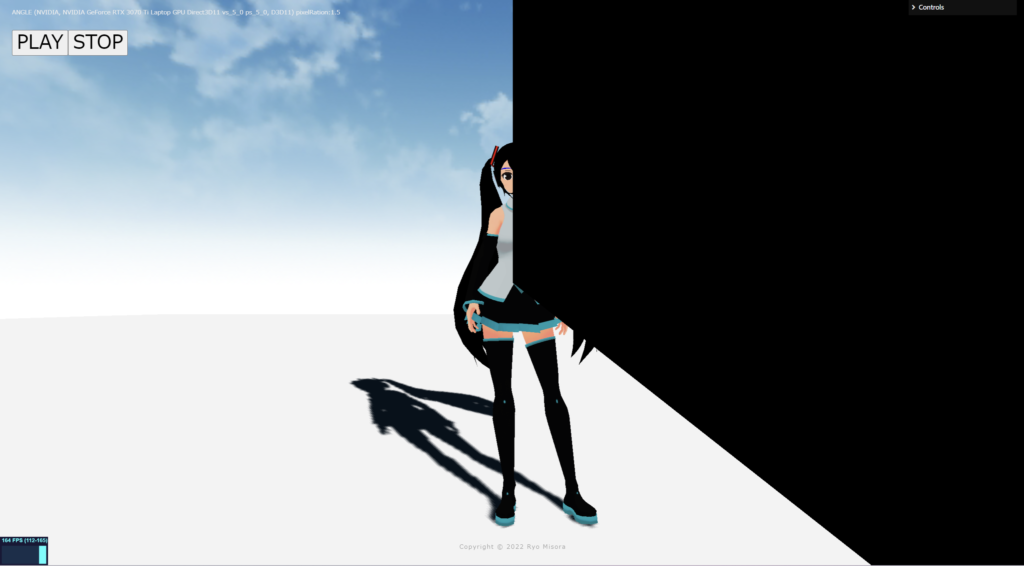
2.スクリーンテクニック
ポストプロセッシングで、おこなうまでもないエフェクトも紹介しています。最終的にはそれらを掛けわせることで、複雑な表現が可能になると思っています。さまざまな表現方法がありますが、今回はスクリーン(画面)を変化させることに焦点を当てた、第2回目を紹介します。
以下のサイトを参考にさせていただきました。
the book of shader

Blind(wipe)

fragment.glsl
/*fragment.glsl*/
#define PI 3.14159265359
uniform sampler2D tDiffuse; /*表示される画像*/
uniform float time;
varying vec2 vUv;
//uniform sampler2D udisplayment; /*表示される画像*/
uniform float uStep;
mat2 rotate2d(float _angle){
return mat2(cos(_angle),-sin(_angle),
sin(_angle),cos(_angle));
}
void main() {
vec2 uv = vUv;
//
// ブラインドで消える
//
vec4 bg_color = texture2D( tDiffuse, uv);
vec2 divUV = uv;
//回転
divUV -= vec2(0.5);
divUV = rotate2d( PI*0.25 ) * divUV;
divUV += vec2(0.5);
//分割
float diviNum = 25.0;
divUV = mod(divUV*diviNum, 1.0);
float black = step(uStep, divUV.y);
if(black > 0.99){
bg_color = vec4(0.0,0.0,0.0,1.0);
}
// 出力
gl_FragColor = vec4(bg_color);
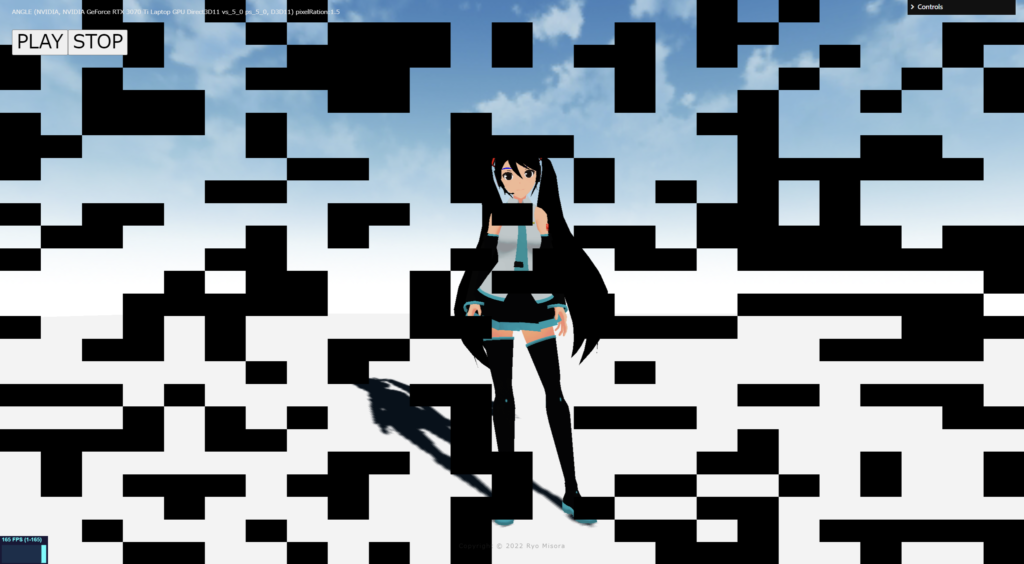
}Block(wipe)
fragment.glsl
/*fragment.glsl*/
uniform sampler2D tDiffuse; /*表示される画像*/
uniform float time;
varying vec2 vUv;

uniform float uStep;

float random (vec2 st) {
    return fract(sin(dot(st.xy,vec2(12.9898,78.233)))*43758.5453123);
}

void main() {
 	vec2 uv = vUv;

	//
	// ブロックノイズで消える
	//
	vec2 st = uv;

    st *= 25.0;
    vec2 ipos = floor(st);  // get the integer coords
    vec2 fpos = fract(st);  // get the fractional coords

    vec4 blockcolor = vec4(vec3(random( ipos ) + uStep), 1.0);

	//色収差
	vec4 bg_color = texture2D( tDiffuse, uv );

	if(blockcolor.r > 1.0){
		bg_color = vec4(0.0,0.0,0.0,1.0);
	}

	// 出力
	gl_FragColor = vec4(bg_color);
}
Clock(wipe)
もりもりゲーム制作ブログ
fraagment.glsl
/*fragment.glsl*/
#define PI 3.14159265359
uniform sampler2D tDiffuse; /*表示される画像*/
uniform float time;
varying vec2 vUv;

uniform float uStep;
//

float atan2(float y, float x){
    return x == 0.0 ? sign(y)*PI*0.5 : atan(y, x);
}

void main() {
 	vec2 uv = vUv;
    vec4 bg_color = texture2D(tDiffuse, uv);

    //
    // 時計ワイプ
    //

    vec2 st = uv;
	float dx = 0.5 - st.x;
	float dy = 0.5 - st.y;

	float rad = atan2(dx, dy);
	rad = rad * 180.0 / PI;
	rad = rad + 180.0;

	float offset = uStep * 500.0;//
	float s = step(rad, offset);

    if(s > 0.999){
      bg_color = vec4(0.0, 0.0, 0.0, 1.0);
    }
    //
    gl_FragColor = vec4(bg_color);
}
Simple Ripple
中央に、サイン波が広がるものです。
fragment.glsl
/*fragment.glsl*/
uniform sampler2D tDiffuse; /*表示される画像*/
uniform float time;
varying vec2 vUv;
uniform vec2 u_resolution;
void main() {
vec2 uv = vUv;
//
// シンプル_リップル
//
//軸を中心にする
vec2 p = -1.0 + 2.0 * uv;
float len = length(p); // 中心からの距離 ( p / len ) から離れれば小さくなる
vec2 R_uv = uv + ( p / len ) * sin( len * 12.0 - time * 4.0) * 0.01;
vec4 bg_color = texture2D(tDiffuse, R_uv);
// 出力
gl_FragColor = vec4(bg_color);
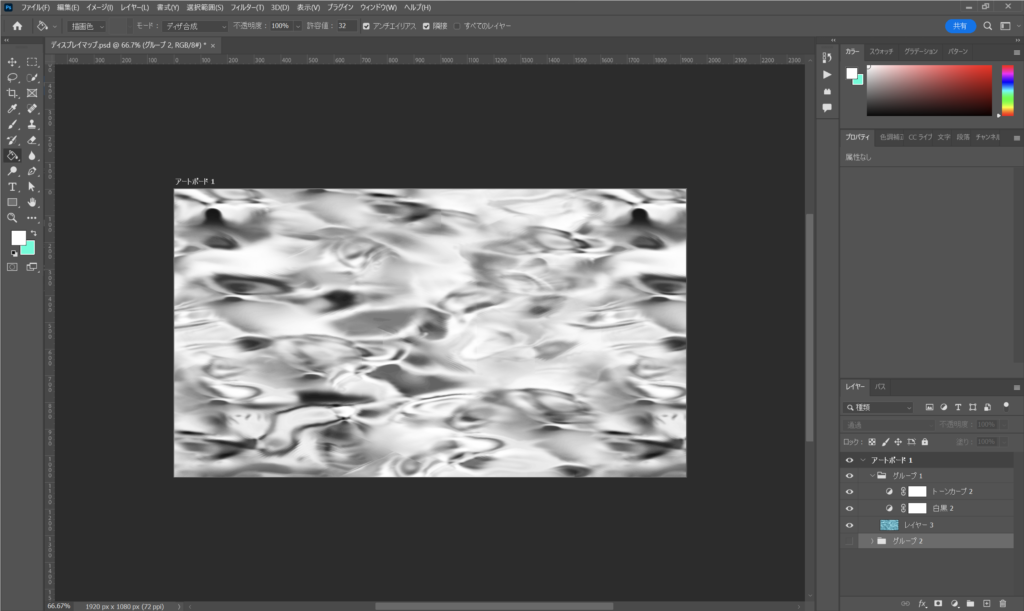
}mirage(蜃気楼)

下の画像の白黒をベースに、画像を上に動かすことで、それっぽく見せます。
water.png (1920×1080)
fragment.glsl
/*fragment.glsl*/
uniform sampler2D tDiffuse; /*表示される画像*/
uniform float time;
varying vec2 vUv;
uniform sampler2D udisplayment; /*表示される画像*/
uniform float uStep;
void main() {
vec2 uv = vUv;
//
// 蜃気楼 water.png
//
//float uStep = 0.8;
vec2 uvB = mod( uv * uStep, 1.0 );//分割数
vec4 disp = texture2D( udisplayment, uvB + vec2( 0, -time*0.1 )) * 0.2;
vec4 colorss = texture2D( tDiffuse, uv );
float R = texture2D( tDiffuse, uv - vec2(disp.r) * 0.04 ).r; // 0or1=>1なら移動
float G = texture2D( tDiffuse, uv - vec2(disp.r) * 0.04 ).g; // 0or1=>1なら移動
float B = texture2D( tDiffuse, uv - vec2(disp.r) * 0.04 ).b; // 0or1=>1なら移動
vec4 bg_color = vec4( R, G, B, 1.0 );
// 出力
gl_FragColor = vec4(bg_color);
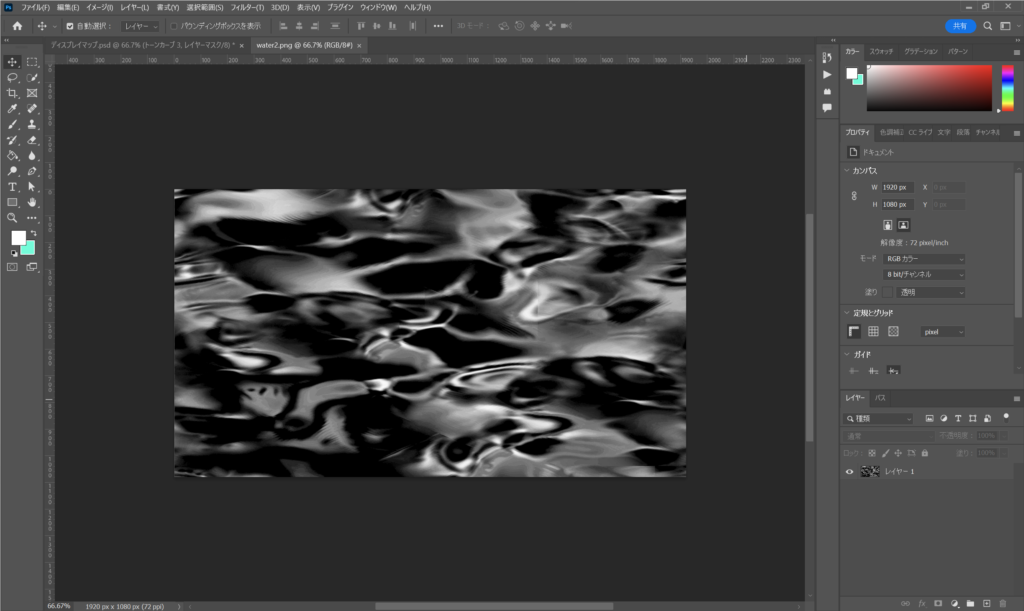
}water surface(+色収差)
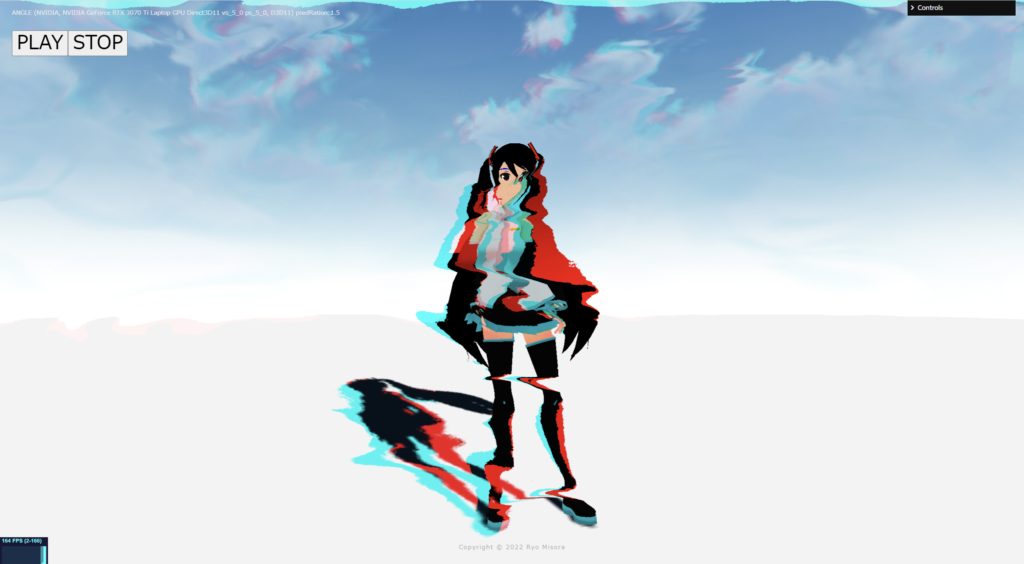
下の画像の白黒をベースに、画像を動かすことで、それっぽく見せます。
water2.png (1920×1080)
fragment.glsl
/*fragment.glsl*/
uniform sampler2D tDiffuse; /*表示される画像*/
uniform float time;
varying vec2 vUv;

uniform sampler2D udisplayment; /*表示される画像*/
uniform float uStep;

void main() {
 	vec2 uv = vUv;

	//
	// Water × 色収差 : 水面(water2.png)
	//

	//float uStep = 0.8;
	vec2 uvB = mod(uv*uStep, 1.0);
	vec4 disp = texture2D( udisplayment, uvB + vec2( -time*0.1, 0 )) * 0.25;
	vec4 colorss = texture2D( tDiffuse, uv );
	//
    float R = texture2D( tDiffuse, mod(uv + vec2(disp.r) * 0.20, 2.0 ) ).r;
    float G = texture2D( tDiffuse, mod(uv + vec2(disp.r) * 0.10, 1.0 ) ).g;
    float B = texture2D( tDiffuse, mod(uv + vec2(disp.r) * 0.10, 1.0 ) ).b;

	vec4 bg_color = vec4( R, G, B, 1.0 );
	// 出力
	gl_FragColor = vec4(bg_color);
}
Barrel Distortion
/*fragment.glsl*/
uniform sampler2D tDiffuse; /*表示される画像*/
uniform float time;
varying vec2 vUv;
uniform vec2 u_resolution;
vec2 barrel(vec2 uv){
float s1 = .8;
float s2 = .125;
vec2 center = - 1.0 + 2.0 * uv;
float barrel = min(1.0 - length(center)*s1, 1.0) * s2;
//float barrel = min(length(center)*s1, 1.0) * s2; //REVERSE
return uv - center * barrel;
}
void main() {
vec2 uv = vUv;
//
// バレルディストーション
//
vec2 b_uv = barrel(uv);
vec4 bg_color = texture2D( tDiffuse, b_uv);
gl_FragColor = vec4(bg_color);
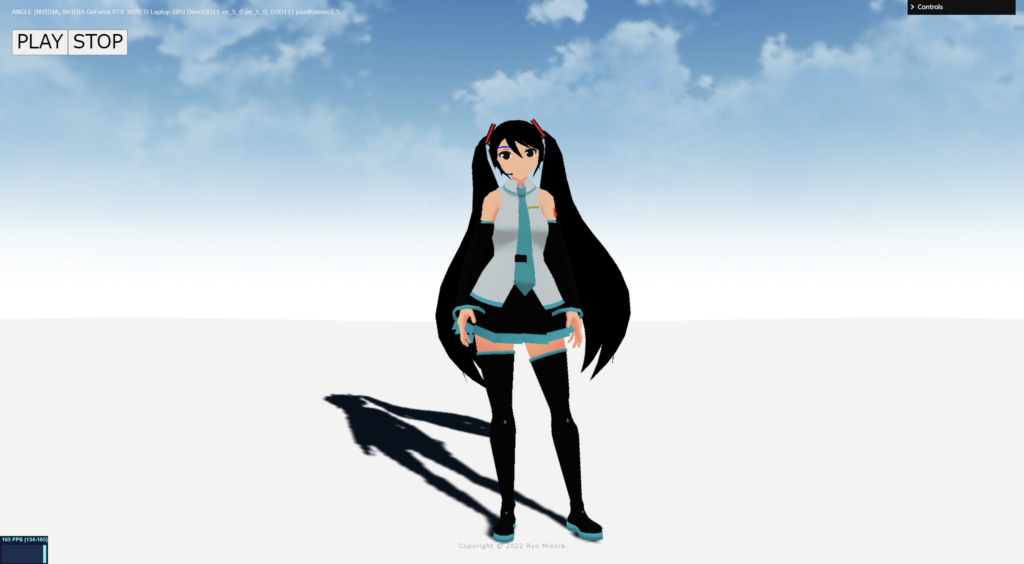
}Blur(Average)
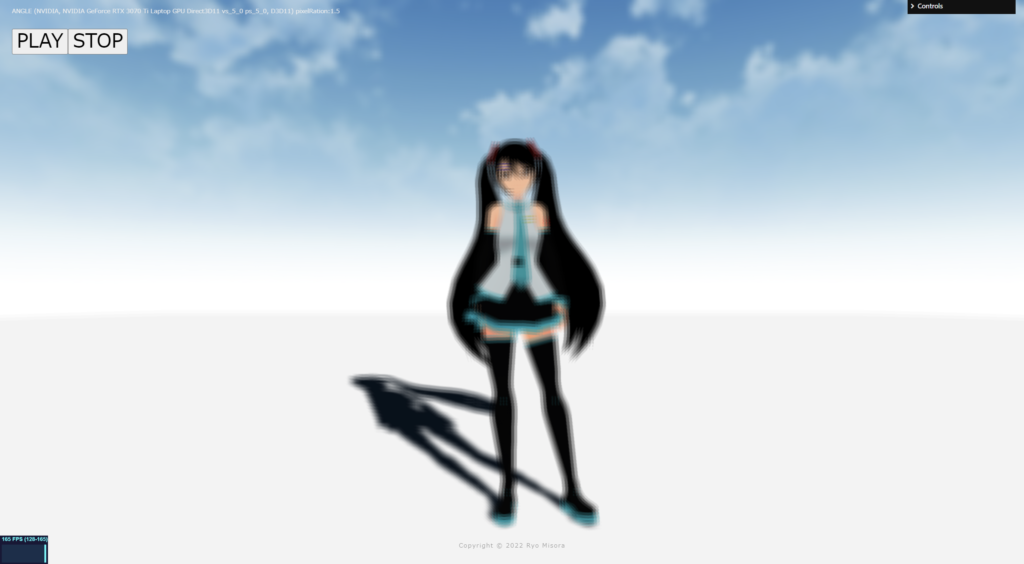
精度が低いブラーです、左右上下にずらした画像を重ねたものになります。
fragment.glsl
/*fragment.glsl*/
uniform sampler2D tDiffuse; /*表示される画像*/
uniform float time;
varying vec2 vUv;

uniform vec2 u_resolution;
uniform float uStep;

void main() {
 	vec2 uv = vUv;

	//
	// 平均ブラー
	//

    //float uStep = 3.0; // BlurSize

    float offsetU = uStep / u_resolution.x;
    float offsetV = uStep / u_resolution.y;

    vec4 color = texture2D(tDiffuse, uv);
    color += texture2D(tDiffuse, uv + vec2(offsetU, 0.0));
    color += texture2D(tDiffuse, uv + vec2(-offsetU, 0.0));
	color += texture2D(tDiffuse, uv + vec2(0.0, offsetV));
    color += texture2D(tDiffuse, uv + vec2(0.0, -offsetV));
    color += texture2D(tDiffuse, uv + vec2(offsetU, offsetV));
    color += texture2D(tDiffuse, uv + vec2(offsetU, -offsetV));
    color += texture2D(tDiffuse, uv + vec2(-offsetU, offsetV));
    color += texture2D(tDiffuse, uv + vec2(-offsetU, -offsetV));
    color /= 9.0;

	// 出力
	gl_FragColor = vec4(color);
}
Blur(Gaussian)仮
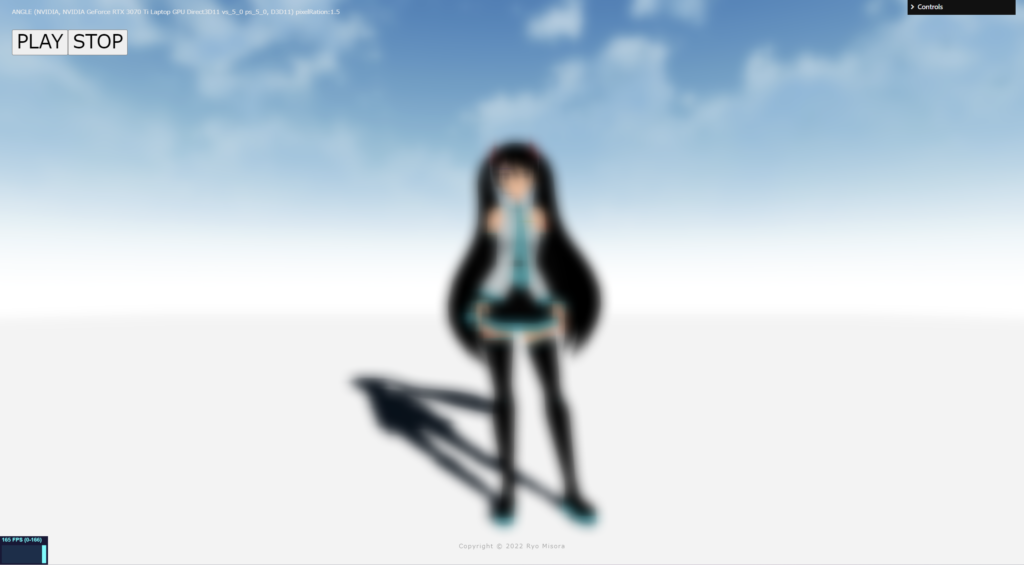
縦ブラーの後に横ブラーを掛けてブラーを完成させます。下のコードは、縦ブラーのポスプロのあとに、もう一つポストプロセッシングを追加して横ブラーを加えてガウシアブラーを実現しています。本来なら、レンダーターゲットやダウンサイジングしたりして、負荷を下げたものが使われていますので、参考までにお願いします。
以下のサイトを参考にさせていただきました。
wgld.org

e.blog
gRangeの数値を上げることで、ブラーが高くなります。
three.js
// ガウス関数の重み係数を算出
let gRange = 128;
let Weight = new Array(12);
let t = 0.0;
let d = gRange * gRange * 0.001;

for(let i = 0; i < Weight.length; i++){
    let r = 1.0 + 2.0 * i;
    let w = Math.exp(-1.0 * (r * r) / (2.0*d));
    Weight[i] = w;
    if(i > 0){w *= 2.0;}
    t += w;
}
for(let i = 0; i < Weight.length; i++){
  Weight[i] /= t;
}
const effectComposer = new EffectComposer( renderer );
//現在のシーン
effectComposer.addPass(new RenderPass(scene, camera));
effectComposer.setPixelRatio(PixelRation);
effectComposer.setSize( window.innerWidth, window.innerHeight );
//1)縦ブラー
const PostProcessingShader = {
uniforms: {
tDiffuse: { type:"t", value:null },
time: { value: 0.0 },
//
u_resolution: { value: new THREE.Vector2(window.innerWidth, window.innerHeight)},
horizontal: { value: true },
weight:{ value: Weight },
},
vertexShader: Vertex,
fragmentShader: Fragment,
};
const MyEffectPass = new ShaderPass(PostProcessingShader);
effectComposer.addPass(MyEffectPass);
// 2)横ブラー
const PostProcessingShader2 = {
uniforms: {
tDiffuse: { type:"t", value:null },
time: { value: 0.0 },
//
u_resolution: { value: new THREE.Vector2(window.innerWidth, window.innerHeight)},
horizontal: { value: false },
weight:{ value: Weight },
},
vertexShader: Vertex,
fragmentShader: Fragment,
};
const MyEffectPass2 = new ShaderPass(PostProcessingShader2);
effectComposer.addPass(MyEffectPass2);// Add Controll
import GUI, { FunctionController } from 'lil-gui';
const gui = new GUI({width:180});
gui.domElement.id = 'gui';
gui.close();
const params = { value: 128,};
gui.add( params, 'value', 1, 256 ).step( 1.0 ).name('Weight').listen()
.listen().onChange( function( value ) {
t = 0.0;
d = value * value * 0.001;
for(let i = 0; i < Weight.length; i++){
let r = 1.0 + 2.0 * i;
let w = Math.exp(-1.0 * (r * r) / (2.0*d));
Weight[i] = w;
if(i > 0){w *= 2.0;}
t += w;
}
for(let i = 0; i < Weight.length; i++){
Weight[i] /= t;
}
MyEffectPass.material.uniforms.weight.value = Weight;
MyEffectPass2.material.uniforms.weight.value = Weight;
});fragment.glsl
/*fragment.glsl*/
uniform sampler2D tDiffuse; /*表示される画像*/
uniform float time;
varying vec2 vUv;

uniform vec2 u_resolution;
uniform bool horizontal;
uniform float weight[12];

void main() {
 	vec2 uv = vUv;

	//
	// ガウシアンブラー
	//

    float BlurSize = 1.0;
    float offsetU =  BlurSize  / (u_resolution.x);
    float offsetV =  BlurSize  / (u_resolution.y);
    vec3 color = vec3(0.0);
    if(horizontal){

        color += texture2D(tDiffuse, uv + vec2(0.0, 0.0)).rgb * weight[0];
        color += texture2D(tDiffuse, uv + vec2(1.0, 0.0)*offsetU).rgb * weight[1];
        color += texture2D(tDiffuse, uv + vec2(-1.0, 0.0)*offsetU).rgb * weight[1];
        color += texture2D(tDiffuse, uv + vec2(3.0, 0.0)*offsetU).rgb * weight[2];
        color += texture2D(tDiffuse, uv + vec2(-3.0, 0.0)*offsetU).rgb * weight[2];
        color += texture2D(tDiffuse, uv + vec2(5.0, 0.0)*offsetU).rgb * weight[3];
        color += texture2D(tDiffuse, uv + vec2(-5.0, 0.0)*offsetU).rgb * weight[3];
        color += texture2D(tDiffuse, uv + vec2(7.0, 0.0)*offsetU).rgb * weight[4];
        color += texture2D(tDiffuse, uv + vec2(-7.0, 0.0)*offsetU).rgb * weight[4];
        color += texture2D(tDiffuse, uv + vec2(9.0, 0.0)*offsetU).rgb * weight[5];
        color += texture2D(tDiffuse, uv + vec2(-9.0, 0.0)*offsetU).rgb * weight[5];
        color += texture2D(tDiffuse, uv + vec2(11.0, 0.0)*offsetU).rgb * weight[6];
        color += texture2D(tDiffuse, uv + vec2(-11.0, 0.0)*offsetU).rgb * weight[6];
        color += texture2D(tDiffuse, uv + vec2(13.0, 0.0)*offsetU).rgb * weight[7];
        color += texture2D(tDiffuse, uv + vec2(-13.0, 0.0)*offsetU).rgb * weight[7];
        color += texture2D(tDiffuse, uv + vec2(15.0, 0.0)*offsetU).rgb * weight[8];
        color += texture2D(tDiffuse, uv + vec2(-15.0, 0.0)*offsetU).rgb * weight[8];
        color += texture2D(tDiffuse, uv + vec2(17.0, 0.0)*offsetU).rgb * weight[9];
        color += texture2D(tDiffuse, uv + vec2(-17.0, 0.0)*offsetU).rgb * weight[9];
        color += texture2D(tDiffuse, uv + vec2(19.0, 0.0)*offsetU).rgb * weight[10];
        color += texture2D(tDiffuse, uv + vec2(-19.0, 0.0)*offsetU).rgb * weight[10];
        color += texture2D(tDiffuse, uv + vec2(21.0, 0.0)*offsetU).rgb * weight[11];
        color += texture2D(tDiffuse, uv + vec2(-21.0, 0.0)*offsetU).rgb * weight[11];

    }else{

        color += texture2D(tDiffuse, uv + vec2(0.0, 0.0)).rgb * weight[0];
        color += texture2D(tDiffuse, uv + vec2(0.0, 1.0)*offsetV).rgb * weight[1];
        color += texture2D(tDiffuse, uv + vec2(0.0, -1.0)*offsetV).rgb * weight[1];
        color += texture2D(tDiffuse, uv + vec2(0.0, 3.0)*offsetV).rgb * weight[2];
        color += texture2D(tDiffuse, uv + vec2(0.0, -3.0)*offsetV).rgb * weight[2];
        color += texture2D(tDiffuse, uv + vec2(0.0, 5.0)*offsetV).rgb * weight[3];
        color += texture2D(tDiffuse, uv + vec2(0.0, -5.0)*offsetV).rgb * weight[3];
        color += texture2D(tDiffuse, uv + vec2(0.0, 7.0)*offsetV).rgb * weight[4];
        color += texture2D(tDiffuse, uv + vec2(0.0, -7.0)*offsetV).rgb * weight[4];
        color += texture2D(tDiffuse, uv + vec2(0.0, 9.0)*offsetV).rgb * weight[5];
        color += texture2D(tDiffuse, uv + vec2(0.0, -9.0)*offsetV).rgb * weight[5];
        color += texture2D(tDiffuse, uv + vec2(0.0, 11.0)*offsetV).rgb * weight[6];
        color += texture2D(tDiffuse, uv + vec2(0.0, -11.0)*offsetV).rgb * weight[6];
        color += texture2D(tDiffuse, uv + vec2(0.0, 13.0)*offsetV).rgb * weight[7];
        color += texture2D(tDiffuse, uv + vec2(0.0, -13.0)*offsetV).rgb * weight[7];
        color += texture2D(tDiffuse, uv + vec2(0.0, 15.0)*offsetV).rgb * weight[8];
        color += texture2D(tDiffuse, uv + vec2(0.0, -15.0)*offsetV).rgb * weight[8];
        color += texture2D(tDiffuse, uv + vec2(0.0, 17.0)*offsetV).rgb * weight[9];
        color += texture2D(tDiffuse, uv + vec2(0.0, -17.0)*offsetV).rgb * weight[9];
        color += texture2D(tDiffuse, uv + vec2(0.0, 19.0)*offsetV).rgb * weight[10];
        color += texture2D(tDiffuse, uv + vec2(0.0, -19.0)*offsetV).rgb * weight[10];
        color += texture2D(tDiffuse, uv + vec2(0.0, 21.0)*offsetV).rgb * weight[11];
        color += texture2D(tDiffuse, uv + vec2(0.0, -21.0)*offsetV).rgb * weight[11];

    }

    gl_FragColor = vec4(color, 1.0);
}
下のコードもおススメです。
glsl-fast-gaussian-blur

そのほか
そのほかのテクニックが掲載されているサイトを紹介します。素晴らしいサイトなので、ぜひ参考にしてみてください。
watabo_shi three.js超入門

次回も予定しています。もし良ければもう一つ記事を読んでいただき、Xをフォローしていただけると嬉しいです。