まず、基本ベースとなる空間に漂うパーティクルを作っていこうと思います。shaderが使える中級者向け?の内容となります。
DemoA(PointMaterial) : https://misora.main.jp/partcle_testA/
DemoB(shaderMaterial) : https://misora.main.jp/partcle_testB/
1.素材作成
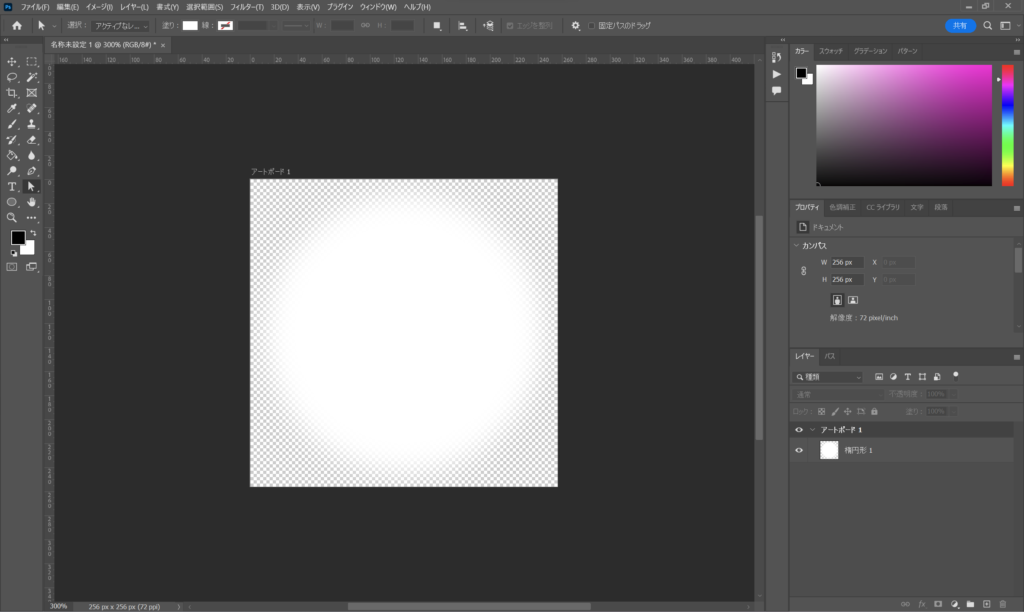
パーティクルを、ポイント(点)にしようと思うので画像を作成します。256×256に円にぼかしを使ってぼけた円画像(point.png)を作成します。これは、PointMaterial使用時に使うものです。
2.パーティクルの作り方
通常は、PointsMaterialを使うと思います。まずは、PointsMaterialでの作り方、次にshaderMaterialを使うやり方をご紹介します。
結論から言うと、パーティクルを動かすのに、shaderを使うか使わないかで、PointsMaterialで十分か、shaderMaterialを使うかどうか決めてもらって大丈夫だと思います。
その両方も使うこともあると思いますが…それでは、行きましょう!
2-1. PointsMaterial編
BufferGeometry()をベースにパーティクルを作成します。
For文でポイント座標をランダムで作成して、ついでにランダムに頂点カラーも設定します。setAttributeで指定してgeometryを定義します。あとはPointsMaterialを定義して完成です。BufferGeometryをわざわざ使わなくても、BoxGeometryで十分な場合もあります。
three.js
/////////////////////////////////////////////////////////////////////////
//// Partcle

/* Create a BufferGeometry Data */
const num = 250; //250個のパーティクルを作成する
const vertices = []; //頂点座標
const colors = []; //頂点カラー
for (let i = 0; i < num; i ++) {
  vertices.push(
    100 * (Math.random()-0.5),
    100 * (Math.random()-0.5),
    100 * (Math.random()-0.5),
  );
  colors.push(
    0.0,
    0.78+0.22*Math.random(),
    Math.random(),
  );
}

/* Create a Geometry */
const pointsGeometry = new THREE.BufferGeometry();
pointsGeometry.setAttribute('position', new THREE.Float32BufferAttribute(vertices, 3));
pointsGeometry.setAttribute('color', new THREE.Float32BufferAttribute(colors, 3));

/* Create a material */
const pointsMaterial = new THREE.PointsMaterial({
    //alphaMap: new THREE.TextureLoader().load("point.png"), //画像を設定
    map: new THREE.TextureLoader().load("point.png"), //画像を設定
    vertexColors: true, //setAttributeでcolorを設定したのを使うので
    size: 0.6,  //個別で調整ください
    sizeAttenuation: true,
    blending: THREE.AdditiveBlending,
    transparent:true,
});

/* Create a Points object */
const points = new THREE.Points(pointsGeometry, pointsMaterial);
points.position.set(0,0,0);//個別で調整

/* Add the points into the scene */
scene.add(points);
簡単に空間にポイントを表示できました。カメラを回転させても正面を向きます。
あとは空間を漂わせる動きを付けるだけです。ノイズを使って漂わせようと思います。simplex-noiseを使います。npmでインストールしましょう。
simplex-noise

three.js
import { createNoise2D, createNoise3D } from 'simplex-noise';

~

/////////////////////////////////////////////////////////////////////////
//// RENDER LOOP FUNCTION

const clock = new THREE.Clock();

//const noise3D = new createNoise3D();
const noise2D = new createNoise2D();

function rendeLoop() {
    //stats.begin();//stats計測
    //const delta = clock.getDelta();//animation programs
    //const elapsedTime = clock.getElapsedTime();

    for( let i = 0; i < points.geometry.attributes.position.count; i++ ) {
      points.geometry.attributes.position.array[ 3*i ] += noise2D( 3*i, 3*i) / 40;
      points.geometry.attributes.position.array[ 3*i + 1 ] += noise2D( 3*i+1, 3*i+1) / 40;
      points.geometry.attributes.position.array[ 3*i + 2 ] += noise2D( 3*i+2, 3*i+2) / 40;
      points.geometry.attributes.position.needsUpdate = true;

      //中心から75離れたらパーティクルを更新する
      if(Math.abs(points.geometry.attributes.position.array[ 3*i ]) > 75
        || Math.abs(points.geometry.attributes.position.array[ 3*i + 1 ]) > 75
        || Math.abs(points.geometry.attributes.position.array[ 3*i + 2 ]) > 75
      ){
        //console.log("update:"+ 3*i );
        points.geometry.attributes.position.array[ 3*i ] = 100 * (Math.random()-0.5),
        points.geometry.attributes.position.array[ 3*i + 1 ] = 100 * (Math.random()-0.5),
        points.geometry.attributes.position.array[ 3*i + 2 ] = 100 * (Math.random()-0.5),
        points.geometry.attributes.position.needsUpdate = true;
      }

    }

    renderer.render(scene, camera) // render the scene using the camera
    requestAnimationFrame(rendeLoop) //loop the render function
    //stats.end();//stats計測
}

rendeLoop() //start rendering
完成です!
ループ時、attributesのpositionを更新することで、動きをつけています。負荷が高いのは、動きをつけるSimpleNoise.jsがCPUで計算しているせいだと考えています。
動きの付け方は、おのおの自由にしてやってみることをおすすめします。
2-2. ShaderMaterial編
PointsMaterial編と同じで、BufferGeometry()をベースにパーティクルを作成します。shaderMaterialで使うglslは別ファイルで読み込んでいます。
素材作成で作成したポイントの画像は使わないで、円(ポイント)を作成しています。(fragment.glsl)
three.js
import Vertex from "./vertex.glsl";
import Fragment from "./fragment.glsl";

/////////////////////////////////////////////////////////////////////////
//// Partcle

/* Create a BufferGeometry Data */

const num = 250; //250個のパーティクルを作成する
const vertices = [];
const colors = [];

for (let i = 0; i < num; i ++) {
  vertices.push(
    100 * (Math.random()-0.5),
    100 * (Math.random()-0.5),
    100 * (Math.random()-0.5),
  );
  colors.push(
    0.0,
    0.78+0.22*Math.random(),
    Math.random(),
  );
}

/* Create a Geometry */
const pointsGeometry = new THREE.BufferGeometry();
pointsGeometry.setAttribute('position', new THREE.Float32BufferAttribute(vertices, 3));
pointsGeometry.setAttribute('color', new THREE.Float32BufferAttribute(colors, 3));

/* Create a material */
const Material = new THREE.ShaderMaterial({
    uniforms: {
        uPixelRation : {value: Math.min(window.devicePixelRatio, 2.0)},//DPI値
        uTime: { value: 0.0 },
        uSize: { value: 0.25 },//個別で調整
      },
    vertexShader: Vertex,
    fragmentShader: Fragment,
    vertexColors: true,
    blending: THREE.AdditiveBlending,
    transparent:true,
});

/* Create a Points object */
const points = new THREE.Points(pointsGeometry, Material);
points.position.set(0,-3.6,0);//個別で調整

/* Add the points into the scene */
scene.add(points);
Vertex.glsl
/*vertex.glsl*/
uniform float uPixelRation;
uniform float uSize;
uniform float uTime;

varying vec2 vUv;
varying vec3 vColor;
varying float vPointSize;

void main() {
  vUv = uv;
  vColor = color;

  //
  vec4 worldPosition = modelMatrix * vec4( position, 1.0 );
  vec4 mvPosition =  viewMatrix * worldPosition;
  //
  vec4 projected = projectionMatrix * mvPosition;
  gl_Position = projected;

  // camera position to size point
  vec3 cameraPos = cameraPosition.xyz; // カメラの位置を取得
  float dist = length(position - cameraPos);
  vPointSize = uSize * uPixelRation * 1000.0 / dist;

  gl_PointSize = vPointSize;
}
fragment.glsl
/*fragment.glsl*/
uniform vec2 uResolution;
uniform float uTime;

varying vec2 vUv;
varying vec3 vColor;

void main()
{

  vec3 color = vColor;

 //Make a Circle
	vec2 temp = gl_PointCoord - vec2(0.5);
	float f = dot(temp, temp);
	if (f > 0.25 ) {
		discard;
	}
	gl_FragColor = vec4(color, 1.0);
}
空間にポイントを表示できました。カメラを回転させても正面を向きます。
あとは空間を漂わせる動きをshader(vertex.glsl)で付けるだけです。ノイズを使って漂わせようと思います。ノイズ関数は以下のgithubからお借り(引用)しました。
glsl-noise
three.js
/////////////////////////////////////////////////////////////////////////
//// RENDER LOOP FUNCTION

const clock = new THREE.Clock();

function rendeLoop() {
    //stats.begin();//stats計測
    //const delta = clock.getDelta();//animation programs
    const elapsedTime = clock.getElapsedTime();

  // uTimeを更新
    points.material.uniforms.uTime.value = elapsedTime / 2.5;
    points.material.uniformsNeedUpdate = true;

    renderer.render(scene, camera) // render the scene using the camera
    requestAnimationFrame(rendeLoop) //loop the render function
    //stats.end();//stats計測
}

rendeLoop() //start rendering
Vertex.glsl
/*vertex.glsl*/
uniform float uPixelRation;
uniform float uSize;
uniform float uTime;

varying vec2 vUv;
varying vec3 vColor;
varying float vPointSize;

//
// Description : Array and textureless GLSL 2D/3D/4D simplex
//               noise functions.
//      Author : Ian McEwan, Ashima Arts.
//  Maintainer : ijm
//     Lastmod : 20110822 (ijm)
//     License : Copyright (C) 2011 Ashima Arts. All rights reserved.
//               Distributed under the MIT License. See LICENSE file.
//               https://github.com/ashima/webgl-noise
//

vec3 mod289(vec3 x) {
  return x - floor(x * (1.0 / 289.0)) * 289.0;
}

vec4 mod289(vec4 x) {
  return x - floor(x * (1.0 / 289.0)) * 289.0;
}

vec4 permute(vec4 x) {
     return mod289(((x*34.0)+1.0)*x);
}

vec4 taylorInvSqrt(vec4 r)
{
  return 1.79284291400159 - 0.85373472095314 * r;
}

float snoise(vec3 v)
  {
  const vec2  C = vec2(1.0/6.0, 1.0/3.0) ;
  const vec4  D = vec4(0.0, 0.5, 1.0, 2.0);

// First corner
  vec3 i  = floor(v + dot(v, C.yyy) );
  vec3 x0 =   v - i + dot(i, C.xxx) ;

// Other corners
  vec3 g = step(x0.yzx, x0.xyz);
  vec3 l = 1.0 - g;
  vec3 i1 = min( g.xyz, l.zxy );
  vec3 i2 = max( g.xyz, l.zxy );

  //   x0 = x0 - 0.0 + 0.0 * C.xxx;
  //   x1 = x0 - i1  + 1.0 * C.xxx;
  //   x2 = x0 - i2  + 2.0 * C.xxx;
  //   x3 = x0 - 1.0 + 3.0 * C.xxx;
  vec3 x1 = x0 - i1 + C.xxx;
  vec3 x2 = x0 - i2 + C.yyy; // 2.0*C.x = 1/3 = C.y
  vec3 x3 = x0 - D.yyy;      // -1.0+3.0*C.x = -0.5 = -D.y

// Permutations
  i = mod289(i);
  vec4 p = permute( permute( permute(
             i.z + vec4(0.0, i1.z, i2.z, 1.0 ))
           + i.y + vec4(0.0, i1.y, i2.y, 1.0 ))
           + i.x + vec4(0.0, i1.x, i2.x, 1.0 ));

// Gradients: 7x7 points over a square, mapped onto an octahedron.
// The ring size 17*17 = 289 is close to a multiple of 49 (49*6 = 294)
  float n_ = 0.142857142857; // 1.0/7.0
  vec3  ns = n_ * D.wyz - D.xzx;

  vec4 j = p - 49.0 * floor(p * ns.z * ns.z);  //  mod(p,7*7)

  vec4 x_ = floor(j * ns.z);
  vec4 y_ = floor(j - 7.0 * x_ );    // mod(j,N)

  vec4 x = x_ *ns.x + ns.yyyy;
  vec4 y = y_ *ns.x + ns.yyyy;
  vec4 h = 1.0 - abs(x) - abs(y);

  vec4 b0 = vec4( x.xy, y.xy );
  vec4 b1 = vec4( x.zw, y.zw );

  //vec4 s0 = vec4(lessThan(b0,0.0))*2.0 - 1.0;
  //vec4 s1 = vec4(lessThan(b1,0.0))*2.0 - 1.0;
  vec4 s0 = floor(b0)*2.0 + 1.0;
  vec4 s1 = floor(b1)*2.0 + 1.0;
  vec4 sh = -step(h, vec4(0.0));

  vec4 a0 = b0.xzyw + s0.xzyw*sh.xxyy ;
  vec4 a1 = b1.xzyw + s1.xzyw*sh.zzww ;

  vec3 p0 = vec3(a0.xy,h.x);
  vec3 p1 = vec3(a0.zw,h.y);
  vec3 p2 = vec3(a1.xy,h.z);
  vec3 p3 = vec3(a1.zw,h.w);

//Normalise gradients
  vec4 norm = taylorInvSqrt(vec4(dot(p0,p0), dot(p1,p1), dot(p2, p2), dot(p3,p3)));
  p0 *= norm.x;
  p1 *= norm.y;
  p2 *= norm.z;
  p3 *= norm.w;

// Mix final noise value
  vec4 m = max(0.6 - vec4(dot(x0,x0), dot(x1,x1), dot(x2,x2), dot(x3,x3)), 0.0);
  m = m * m;
  return 42.0 * dot( m*m, vec4( dot(p0,x0), dot(p1,x1),
                                dot(p2,x2), dot(p3,x3) ) );
}

void main() {
  vUv = uv;
  vColor = color;

  //
  vec4 worldPosition = modelMatrix * vec4( position, 1.0 );
  vec4 mvPosition =  viewMatrix * worldPosition;
  // ノイズを計算して足しています!
  float distortionX = snoise( vec3( position.x + uTime, position.y, position.z) );
  float distortionY = snoise( vec3( position.x, position.y + uTime, position.z) );
  float distortionZ = snoise( vec3( position.x, position.y, position.z + uTime) );
  mvPosition.x += distortionX * 2.5;
  mvPosition.y += distortionY * 2.5;
  mvPosition.z += distortionZ * 2.5;
  //
  vec4 projected = projectionMatrix * mvPosition;
  gl_Position = projected;

  // camera position to size point
  vec3 cameraPos = cameraPosition.xyz; // カメラの位置を取得
  float dist = length(position - cameraPos);
  vPointSize = uSize * uPixelRation * 1000.0 / dist;

  gl_PointSize = vPointSize;
}
完成です!
shaderMaterialのuTimeを更新させ、vertex.glslのPositionの値にノイズを加えているだけです。
3.完成!
非常に簡単でしたね!
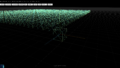
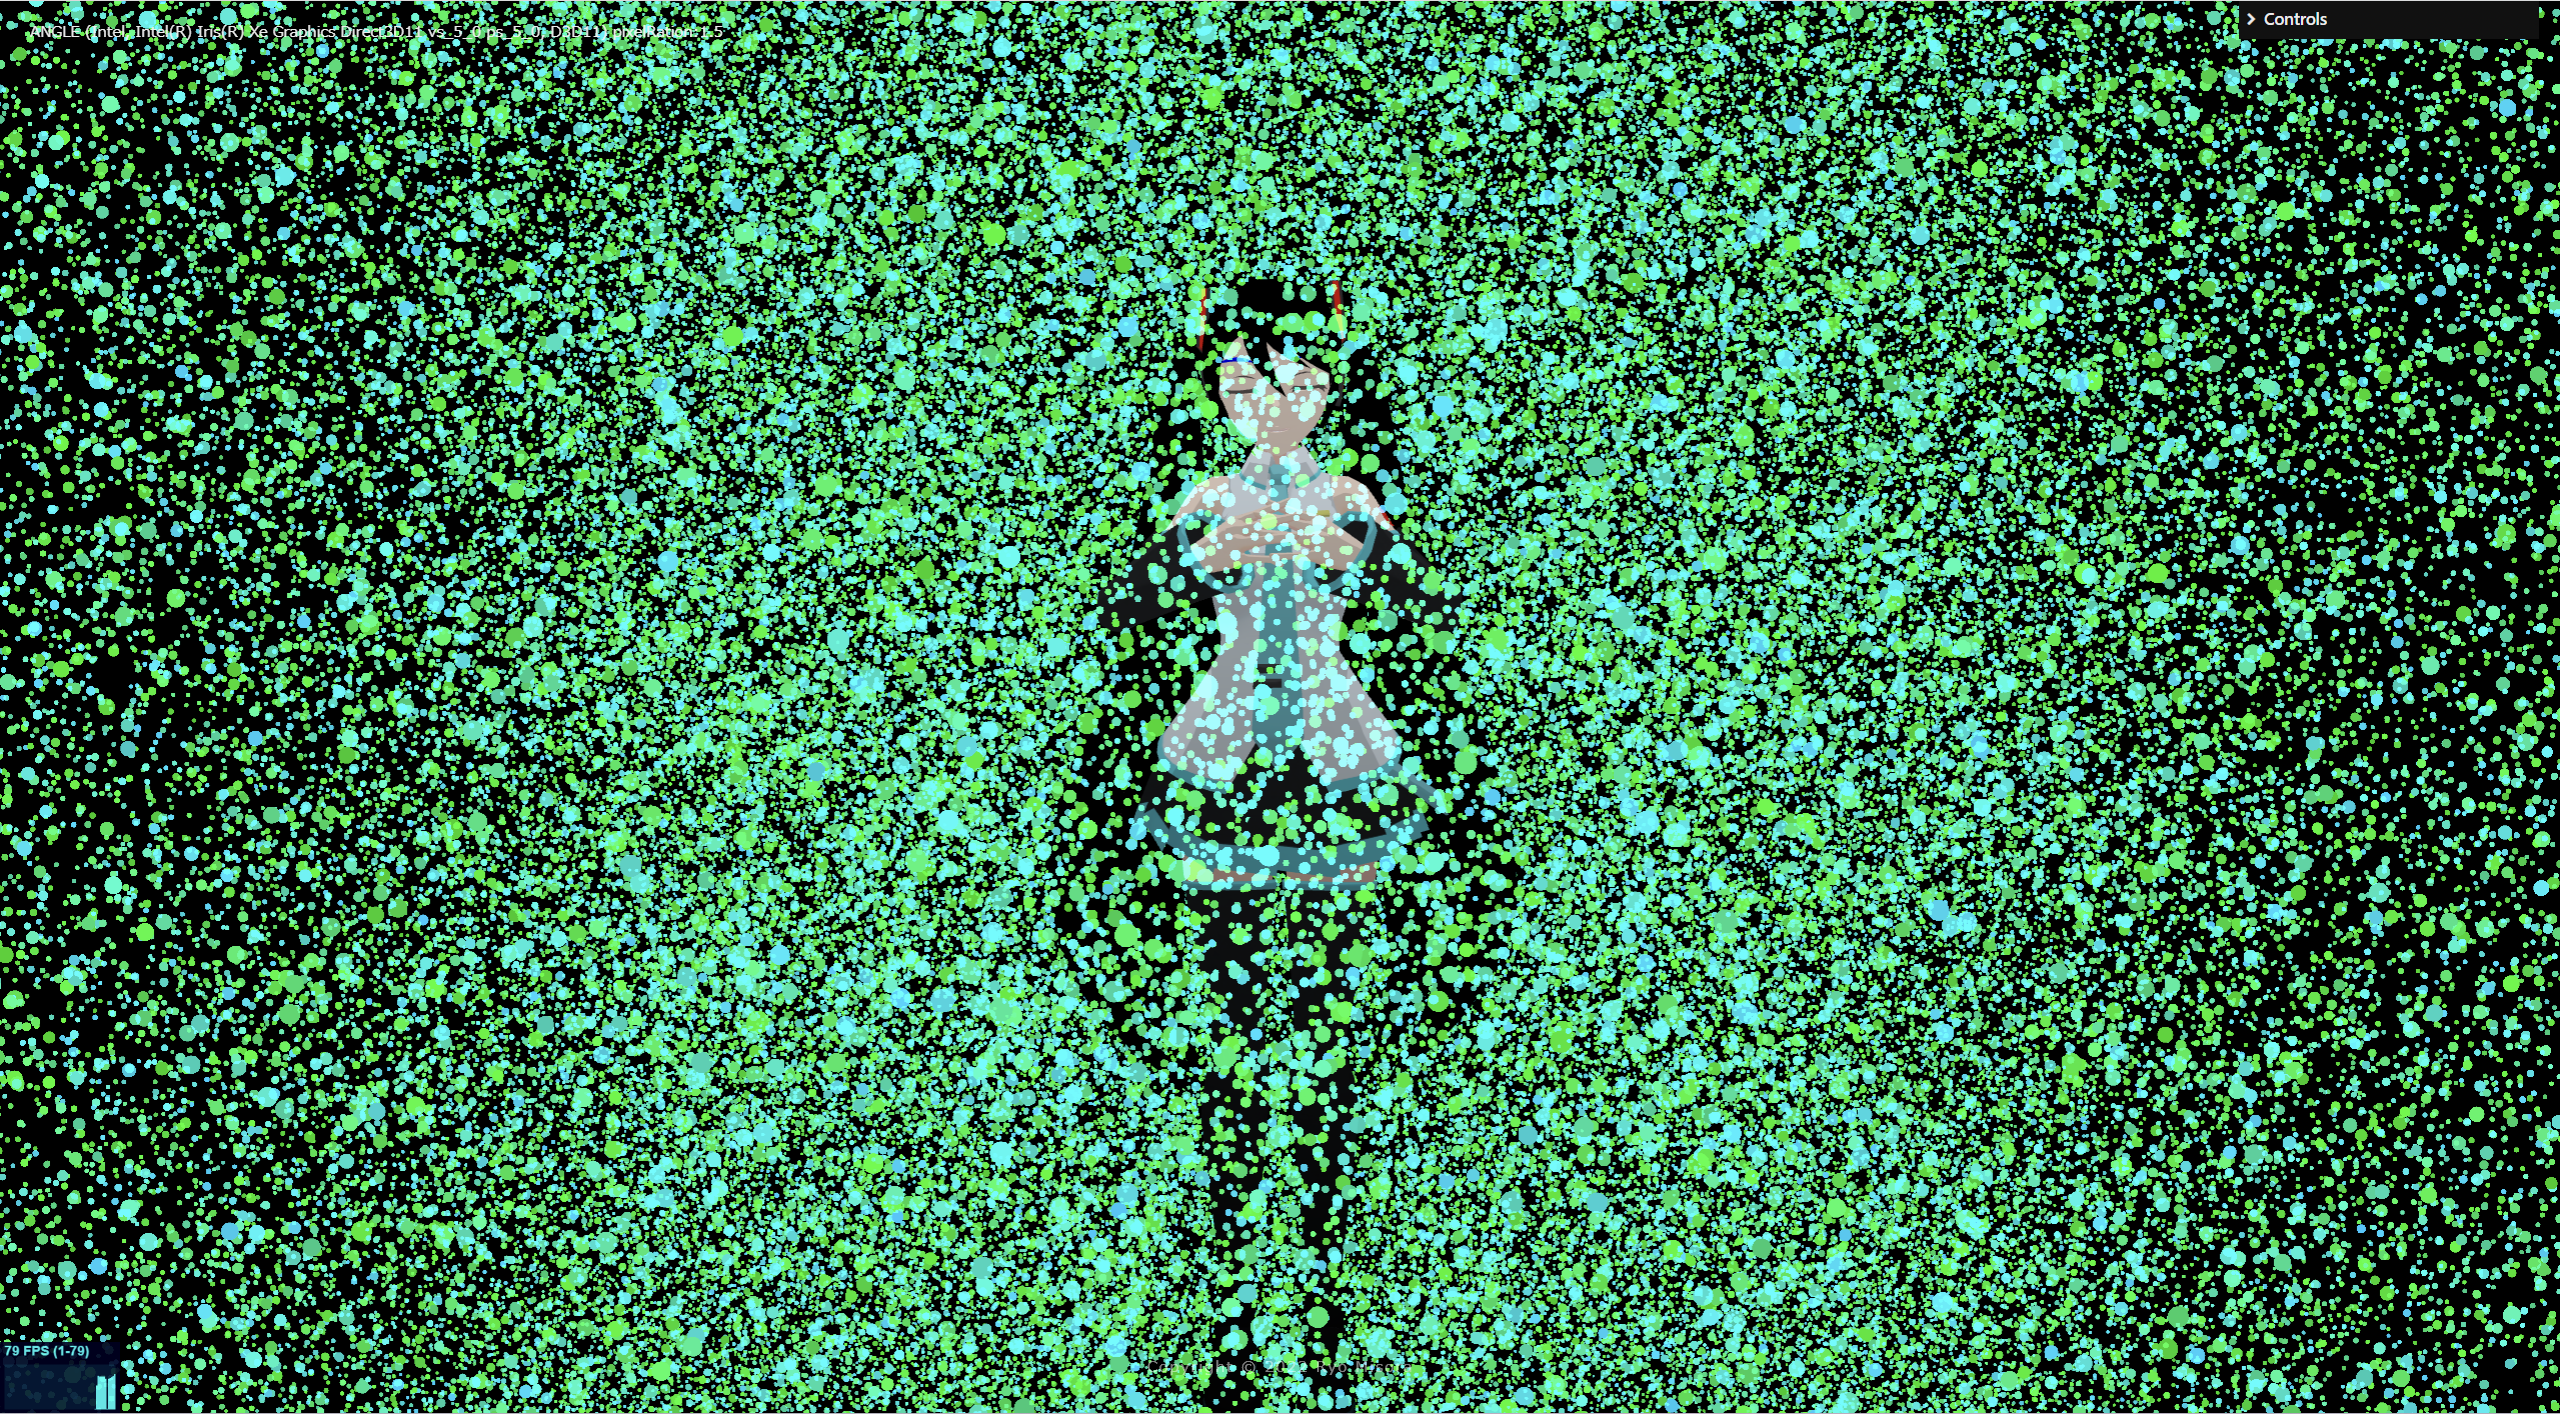
しかし、できているものはほぼ同じで、結果的に2つの違いが分からなかったと思います。なので、パーティクルを25万個にして、比較したのが、以下の画像になります。
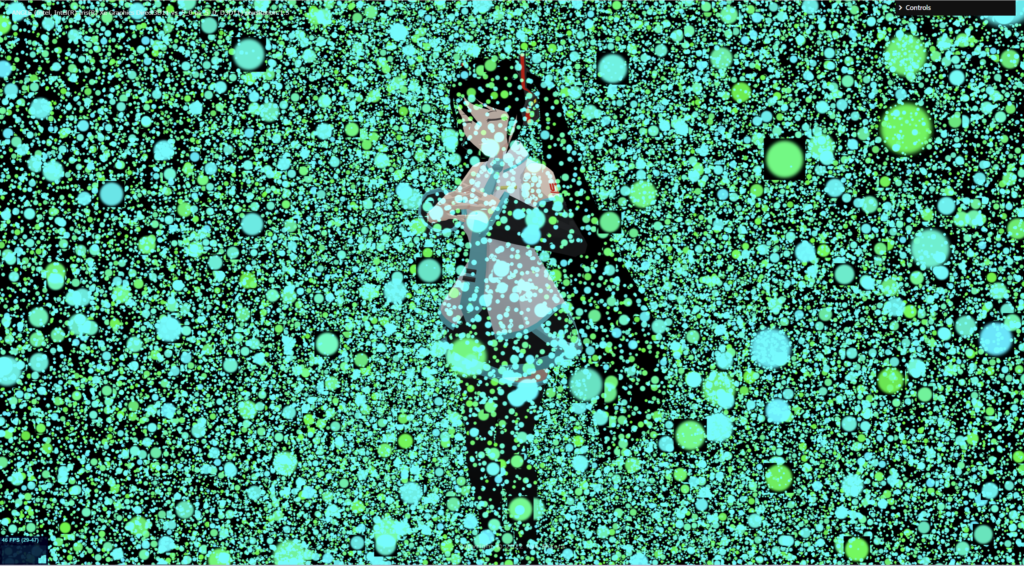
PointMaterial で作ったパーティクル FPS:29~47 若干重い
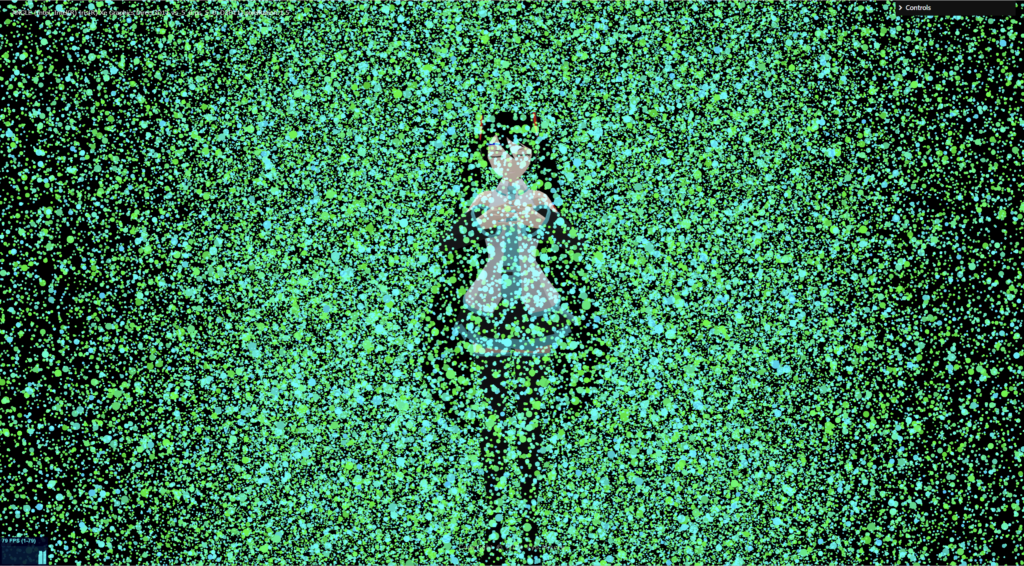
ShaderMaterial で作ったパーティクル FPS:1~70 特に問題なし
PointMaterialで負荷が高かったのは、動きをつけるSimpleNoise.jsがCPUで計算しているせいだと考えています。shaderはGPU計算なので、負荷を気にする方はぜひ、shaderMaterialで作ってみてください。
以上が、shaderでPartcle(パーティクル) を作る 基礎編でした。いつも、パーティクルで空気感・雰囲気を出すのに使うチップスで、毎回調べて作るのも面倒で、備忘録を兼ねて記事にしました。
コピペできるのは、やはりいいですね。
パーティクルの表現はたくさんあるので、別のものもぜひ記事にしたいと思っています! ぜひ、他の記事も読んでみてください。