shaderが使える中級者向け?の内容となります。
Demo:https://misora.main.jp/butterfly/
1.素材作成
蝶を作るのに、画像が必要になります。そこで、フリー素材を使わせていただきました。
silhouette design projectその4 リアルな蝶 – SILHOUETTE DESIGN

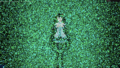
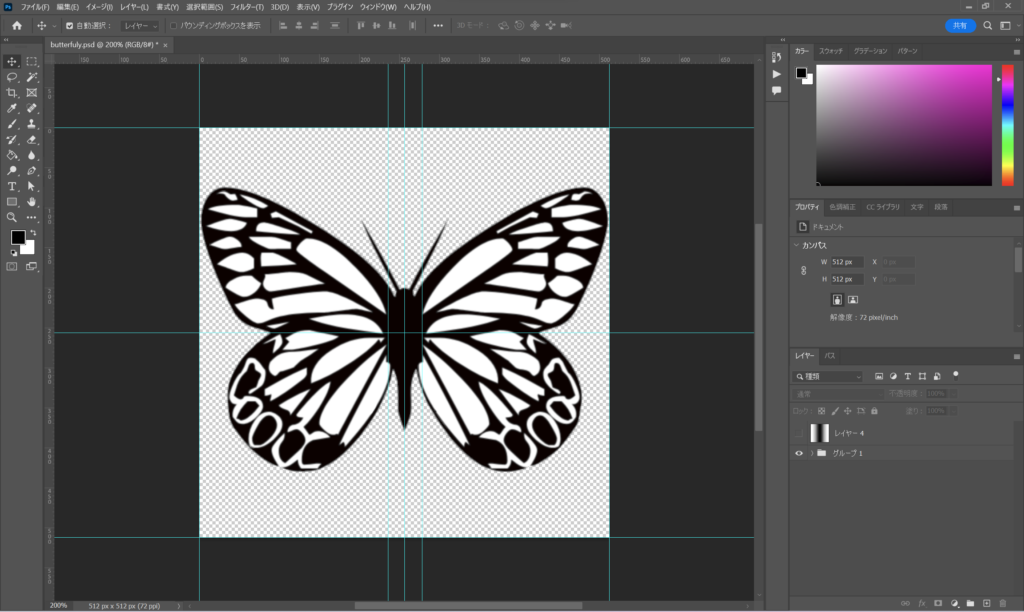
以下のように512×512で画像を2枚作成します(butterfly.png、gradation.png)。グラデーション素材はshaderで羽ばたき用に使用します。蝶のカラーはshader側で設定します。白の部分にカラーが乗るイメージです。shader側で設定しない場合は、この時点で色を載せてOKです。

2.PlaneMeshに画像を貼り付ける
Three.jsのコードになります。shaderMaterialのGLSL部分は、別ファイルにして読み込ませています。
three.jsの一部
import Vertex from "./vertex.glsl";
import Fragment from "./fragment.glsl";

~

const geometry = new THREE.PlaneGeometry( 2, 2, 4, 4 );
const material = new THREE.ShaderMaterial({
  uniforms : {
    //uPixelRation : {value:PixelRation},
    uTime: { value: 0.0},//羽ばたき用の変数
    uTexture: {value:new THREE.TextureLoader().load("butterfly.png")},//蝶の画像
    udisplaymanet: {value:new THREE.TextureLoader().load("gradation.png")},//グラデーション画像
    uColor : { value: new THREE.Color(1, 1, Math.random())},//黄色ベースのランダムカラー
  },
  vertexShader:Vertex,
  fragmentShader: Fragment,
  side:THREE.DoubleSide,
  transparent:true,
  depthWrite:false,
});

const Mesh = new THREE.Mesh( geometry, material );
Mesh.position.set(0,0,0);//初期位置
scene.add(Mesh);
Vertex.glsl
/*vertex.glsl*/
uniform sampler2D udisplaymanet;
uniform float uTime;

varying vec2 vUv;

void main() {
  //
  vUv = uv;
  //
  vec4 worldPosition = modelMatrix * vec4( position, 1.0 );
  vec4 mvPosition =  viewMatrix * worldPosition;
  //
  gl_Position = projectionMatrix * mvPosition;
}
fragment.glsl
/*fragment.glsl*/
uniform sampler2D uTexture;
uniform float uTime;
uniform vec3 uColor;
varying vec2 vUv;

void main()
{
  vec4 texcel = texture2D(uTexture, vUv);
  vec3 color = texcel.rgb * uColor;
  // 出力
  gl_FragColor = vec4(color,texcel.a);
}
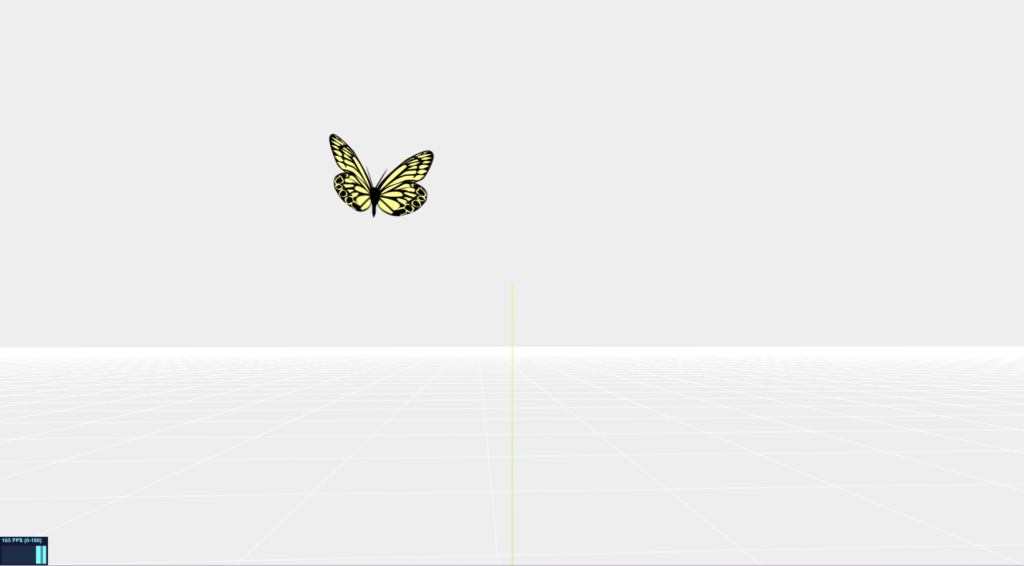
羽ばたきなしの蝶ができると思います。

3.羽ばたきを設定する
shaderMaterialのuTimeに経過時間データを入力して、Sin関数を使い、Vertex.glslで蝶の羽ばたきを設定します。
Vertex.glsl
/*vertex.glsl*/
uniform sampler2D udisplaymanet;
uniform float uTime;

varying vec2 vUv;

void main() {
  //
  vUv = uv;
  //
  vec4 color = texture2D(udisplaymanet, vUv);//グラデーションの白黒データ(0~1)を使う
  float newposX = position.x;
  float newposY = position.y;
  float newposZ = color.r * sin(uTime) + position.z;//白(1に近い)箇所に、-1~1の値を掛けて上下させる
  vec3 newposition = vec3(newposX, newposY, newposZ);
  //
  vec4 worldPosition = modelMatrix * vec4( newposition, 1.0 );
  vec4 mvPosition =  viewMatrix * worldPosition;
  //
  gl_Position = projectionMatrix * mvPosition;
}
Three.js
const clock = new THREE.Clock();

//アニメーションループ箇所
function rendeLoop() {
    //stats.begin();//stats計測
    //const delta = clock.getDelta();//animation programs
    const elapsedTime = clock.getElapsedTime();

    // 蝶のマテリアルのuTimeに値を入れる
    Mesh.material.uniforms.uTime.value = elapsedTime * 10;
    Mesh.material.uniformsNeedUpdate = true;

    renderer.render(scene, camera) // render the scene using the camera
    requestAnimationFrame(rendeLoop) //loop the render function
    //stats.end();//stats計測
}

rendeLoop() //start rendering
これで、蝶が羽ばたきます! これでほぼ完成したようなものです。

4.ノイズを使って、ゆらゆらしてもらう
今回は、あえてコントロールせずにノイズを使って、ただゆらゆらしてもらおうと思います。simplex-noiseを使います。npmでインストールしましょう。
simplex-noise

three.js
import { createNoise3D, createNoise2D } from 'simplex-noise';

~

const clock = new THREE.Clock();

//新規追加
const noise2D = new createNoise2D();
let NoiseX = 0;
let NoiseY = 0;
let NoiseZ = 0;

function rendeLoop() {
    //stats.begin();//stats計測
    //const delta = clock.getDelta();//animation programs
    const elapsedTime = clock.getElapsedTime();

    //
    Mesh.material.uniforms.uTime.value = elapsedTime * 10;
    Mesh.material.uniformsNeedUpdate = true;

    //新規追加
    NoiseX = noise2D(1, elapsedTime)/20;//
    NoiseY = noise2D(elapsedTime, 1)/40;//
    NoiseZ = noise2D(elapsedTime, 1)/20;//

    Mesh.position.x += NoiseX;
    Mesh.position.y += NoiseY;
    Mesh.position.z += NoiseZ;

    // 回転させる
    // オブジェクトの現在の方向を取得する
    const currentDirection = new THREE.Vector3();
    Mesh.getWorldDirection(currentDirection);
    // ターゲット方向ベクトルを作成する
    const targetDirection = new THREE.Vector3(NoiseX*20, NoiseY*40, NoiseZ*20); // 例: y軸方向をターゲットとする

    // オブジェクトの現在の方向とターゲット方向の間の回転を計算する
    const quaternion = new THREE.Quaternion();
    quaternion.setFromUnitVectors(currentDirection, targetDirection);
    Mesh.quaternion.copy(quaternion);

    //
    renderer.render(scene, camera) // render the scene using the camera
    requestAnimationFrame(rendeLoop) //loop the render function
    //stats.end();//stats計測
}

rendeLoop() //start rendering
ゆらゆら浮遊している蝶が完成しました! ノイズの値を変えて揺れ具合を調節してください。複数の蝶で実践するときは、初期位置をランダムにして、noise2D(1, elapsedTime)のx=1の値を、それぞれ個別の値を持つようすると各種違うノイズで羽ばたきます。
5.完成
非常に簡単でしたね!
これをベースに、クローンやインスタンスメッシュで複製すれば、デモにあったたくさんの蝶を浮遊させることができます。
初音ミク・プログラミングコンテストでボツになったネタの1つですが、見栄えが良いの記事にしてみました。このようなものならば、直ぐに作れる自信はあるので、Twitter(X)のフォローよろしくお願いいたします。