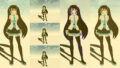
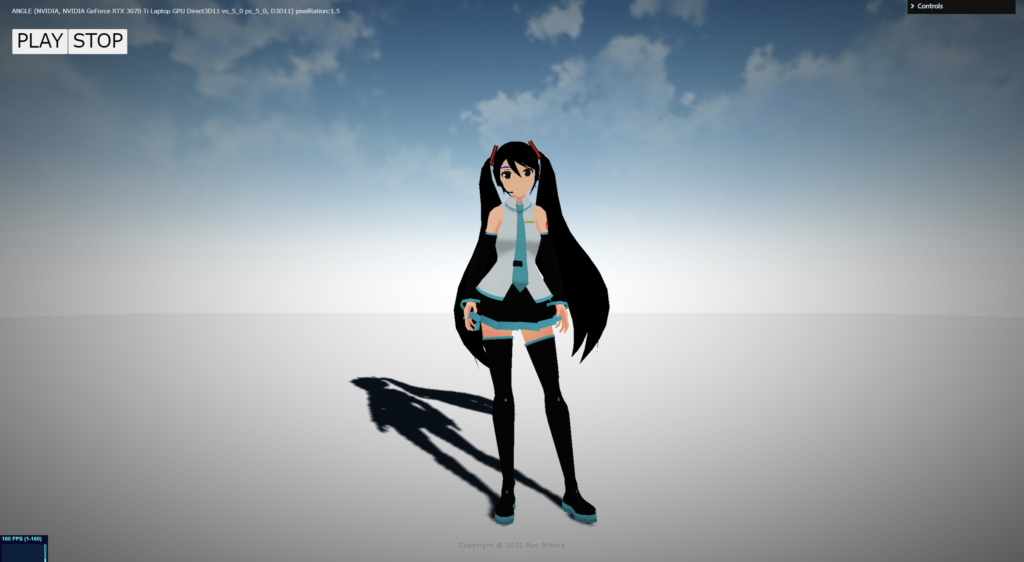
ポストプロセスを通じて、fragment shaderをいじってフィルターを作っていこうと思います。デモとして、グリッチフィルターを作成いたしました。備忘録も含めて、いろいろなテクニックを紹介していこうと思います。今回はカラー編です。
【Demo】misora.main.jp/post-glitch/
1.PostProcessingの下準備
threejs.org

自作のポストプロセッシングするための準備です。まず、何もエフェクトがかかっていない真っさらな状態を作成します。ひとつ、three.jsのフォルダからshaderPass.jsをコピーして、設定を追加します。
three.js
import { EffectComposer } from 'three/examples/jsm/postprocessing/EffectComposer.js';
import { RenderPass } from "three/examples/jsm/postprocessing/RenderPass";
import { ShaderPass } from './ShaderPass.js';

import Vertex from "./vertex.glsl";
import Fragment from "./fragment.glsl";
const effectComposer = new EffectComposer( renderer );
//
effectComposer.addPass(new RenderPass(scene, camera));
effectComposer.setPixelRatio(Math.min(window.devicePixelRatio, 2.0));
effectComposer.setSize( window.innerWidth, window.innerHeight );
//1)My PostProcessing Shader
const PostProcessingShader = {
uniforms: {
tDiffuse: { type:"t", value:null },
time: { value: 0.0 },
u_resolution: { value: new THREE.Vector2(window.innerWidth, window.innerHeight)},
},
vertexShader: Vertex,
fragmentShader: Fragment,
};
const MyEffectPass = new ShaderPass(PostProcessingShader);
effectComposer.addPass(MyEffectPass);function rendeLoop() {
//stats.begin();//stats計測
//renderer.render(scene, camera) // render the scene using the camera
effectComposer.render();
requestAnimationFrame(rendeLoop) //loop the render function
//stats.end();//stats計測
}
rendeLoop() //start renderingvertex.glsl
/*vertex.glsl*/
varying vec2 vUv;

void main() {
    vUv=uv;
    gl_Position = projectionMatrix * modelViewMatrix * vec4( position, 1.0 );
    // vec4 modelPosition = modelMatrix * vec4(position, 1.0);
    // vec4 viewPosition = viewMatrix * modelPosition;
    // vec4 projectionPosition = projectionMatrix * viewPosition;
    // gl_Position = projectionPosition;
}
fragment.glsl
/*fragment.glsl*/
uniform sampler2D tDiffuse; /*表示される画像*/
uniform float time;
varying vec2 vUv;

void main() {

 	vec2 uv = vUv;
	vec4 bg_color =  texture2D(tDiffuse, uv);


	////////////////////////////////////////////////////////////////////////////////////////
	// 出力
	gl_FragColor = vec4(bg_color);

}
ShaderPass.js
import { ShaderMaterial, UniformsUtils } from 'three';
import { Pass, FullScreenQuad } from 'three/examples/jsm/postprocessing/Pass.js';

class ShaderPass extends Pass {

	constructor( shader, textureID ) {

		super();

		this.textureID = ( textureID !== undefined ) ? textureID : 'tDiffuse';

		if ( shader instanceof ShaderMaterial ) {

			this.uniforms = shader.uniforms;

			this.material = shader;

		} else if ( shader ) {

			this.uniforms = UniformsUtils.clone( shader.uniforms );

			this.material = new ShaderMaterial( {

				name: ( shader.name !== undefined ) ? shader.name : 'unspecified',
				defines: Object.assign( {}, shader.defines ),
				uniforms: this.uniforms,
				vertexShader: shader.vertexShader,
				fragmentShader: shader.fragmentShader

			} );

		}

		this.fsQuad = new FullScreenQuad( this.material );

	}

	render( renderer, writeBuffer, readBuffer, deltaTime, /*, deltaTime, maskActive */ ) {

		if ( this.uniforms[ this.textureID ] ) {

			this.uniforms[ this.textureID ].value = readBuffer.texture;

		}
  // Add
		if ( this.uniforms[ 'time' ] ) {

			this.uniforms[ 'time' ].value += deltaTime;

		}
    //

		this.fsQuad.material = this.material;

		if ( this.renderToScreen ) {

			renderer.setRenderTarget( null );
			this.fsQuad.render( renderer );

		} else {

			renderer.setRenderTarget( writeBuffer );
			// TODO: Avoid using autoClear properties, see https://github.com/mrdoob/three.js/pull/15571#issuecomment-465669600
			if ( this.clear ) renderer.clear( renderer.autoClearColor, renderer.autoClearDepth, renderer.autoClearStencil );
			this.fsQuad.render( renderer );

		}

	}

	dispose() {

		this.material.dispose();

		this.fsQuad.dispose();

	}

}

export { ShaderPass };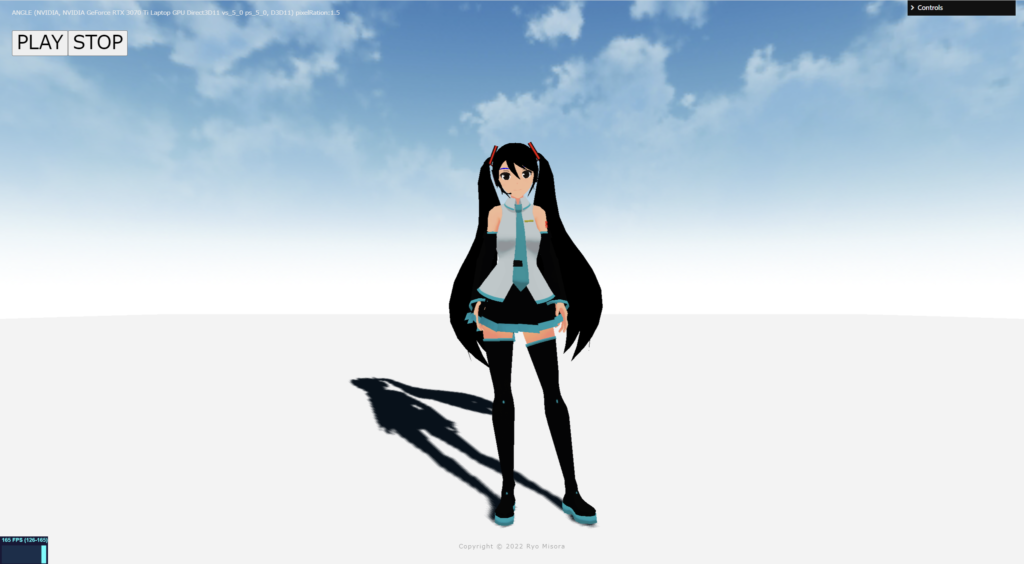
何もエフェクトを設定していない、素の状態が完了しました!
2.カラーテクニック
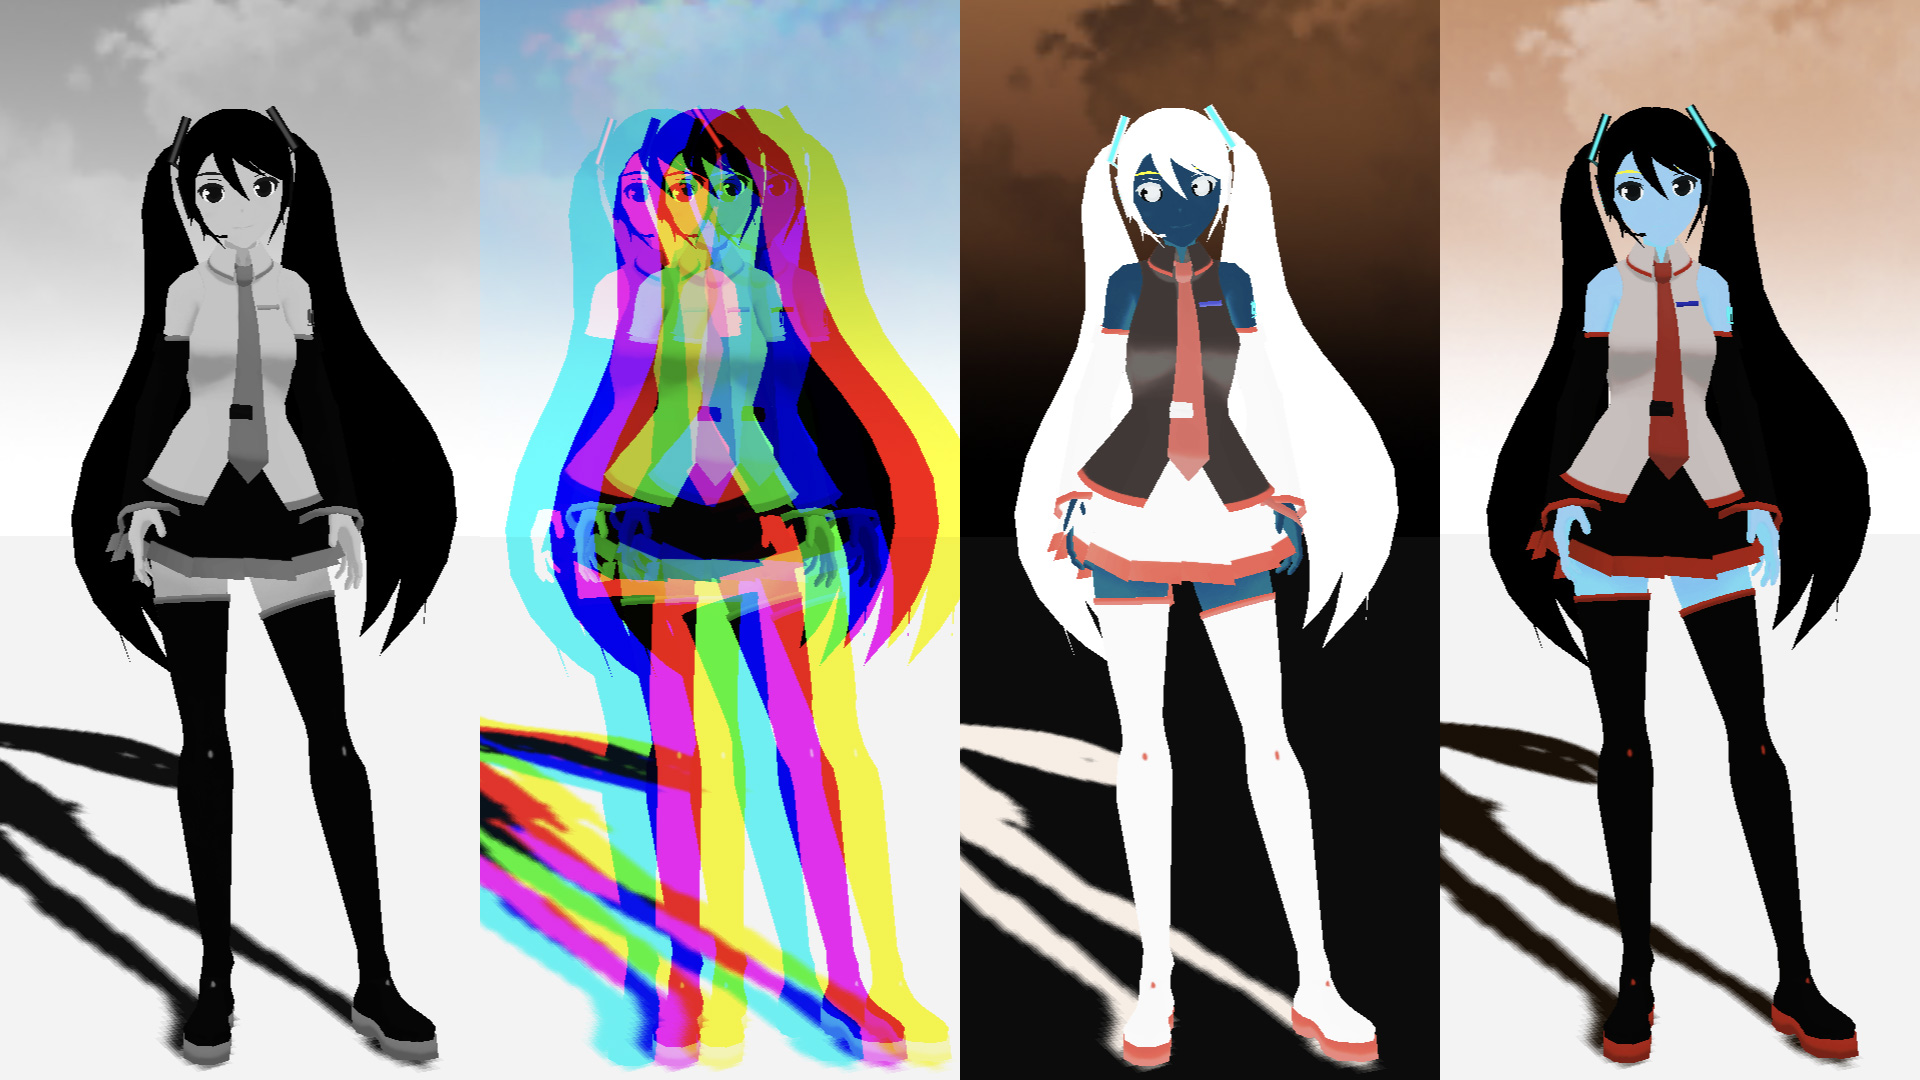
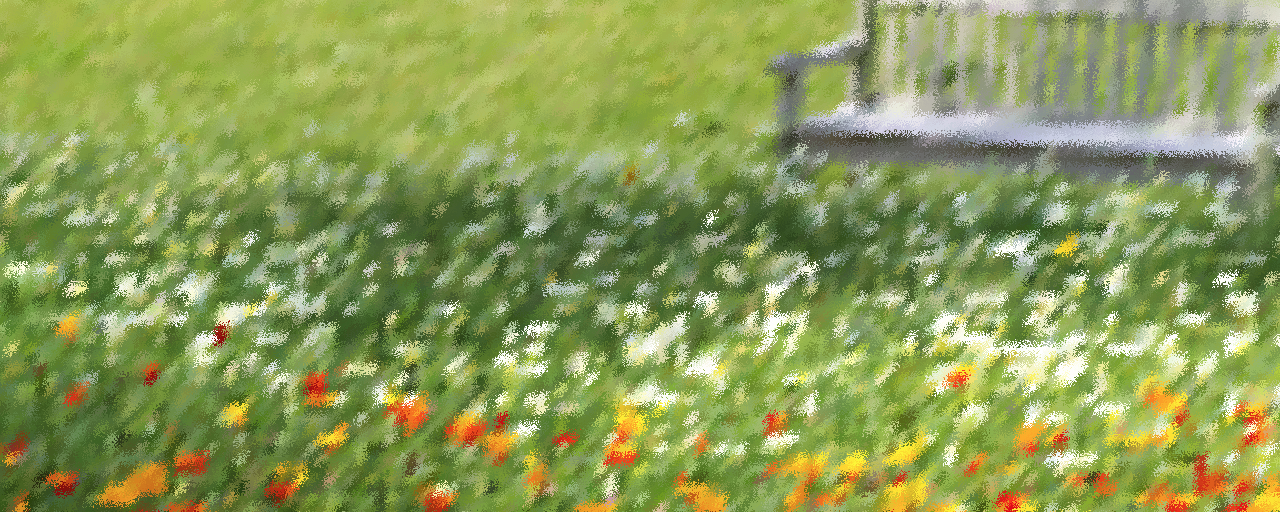
ポストプロセッシングで、おこなうまでもないエフェクトも紹介しています。最終的にはそれらを掛けわせることで、複雑な表現が可能になると思っています。さまざまな表現方法がありますが、今回はカラーに焦点を当ててピックアップしました。
Grayscale
fragment.glsl
/*fragment.glsl*/
uniform sampler2D tDiffuse; /*表示される画像*/
uniform float time;
varying vec2 vUv;

void main() {
 	vec2 uv = vUv;

  //グレースケール NTSC & 単純加重平均
	vec4 texcel = texture2D( tDiffuse, uv);
	// NTSC
	vec3 NTSC = vec3(0.298912,0.586611,0.114478);
	float w = dot(texcel.rgb, NTSC);
	// 単純加重平均
	//float w = (texcel.r+texcel.g+texcel.b) / 3.0;
	vec4 bg_color = vec4(vec3(w), 1.0);

	// 出力
	gl_FragColor = vec4(bg_color);

}
Binarization
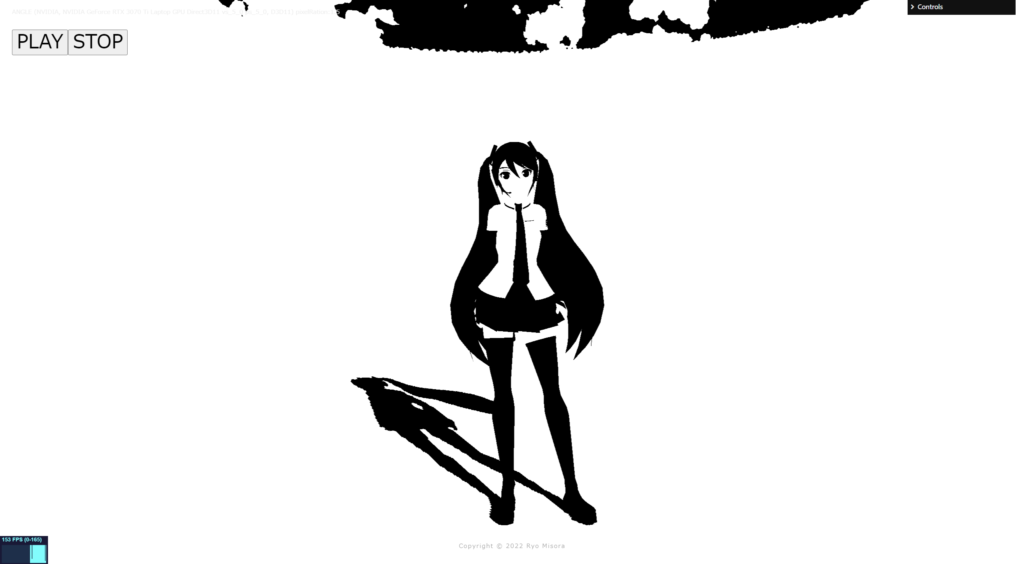
fragment.glsl
/*fragment.glsl*/
uniform sampler2D tDiffuse; /*表示される画像*/
uniform float time;
varying vec2 vUv;

void main() {
 	vec2 uv = vUv;

	//2値化
	vec4 texcel = texture2D( tDiffuse, uv);
	// NTSC
	vec3 NTSC = vec3(0.298912,0.586611,0.114478);
	float w  = dot(texcel.rgb, NTSC);
	//
	vec4 bg_color = vec4(1, 1, 1, 1);
	float threshold = 0.52;
	if( w < threshold ){
		bg_color = vec4(0, 0, 0, 1);
	}

	// 出力
	gl_FragColor = vec4(bg_color);

}
Color inversion
fragment.glsl
/*fragment.glsl*/
uniform sampler2D tDiffuse; /*表示される画像*/
uniform float time;
varying vec2 vUv;
void main() {
vec2 uv = vUv;
//カラー反転
vec4 texcel = texture2D( tDiffuse, uv);
vec3 inversColor = vec3(1.0) - texcel.rgb;
vec4 bg_color = vec4(inversColor, 1.0);
// 出力
gl_FragColor = vec4(bg_color);
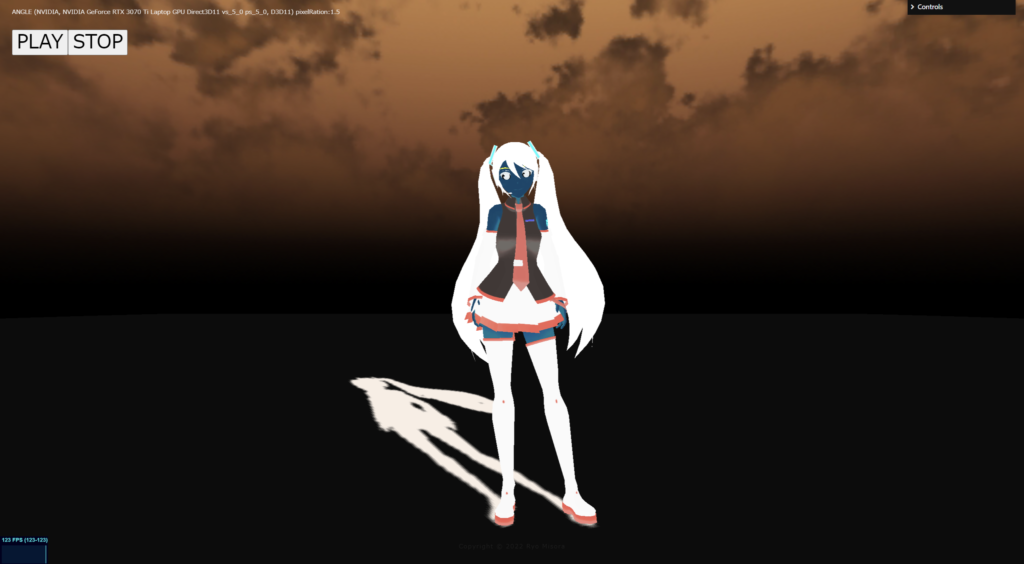
}Complementary color
fragment.glsl
/*fragment.glsl*/
uniform sampler2D tDiffuse; /*表示される画像*/
uniform float time;
varying vec2 vUv;

void main() {
 	vec2 uv = vUv;

	//補色変換カラー
	vec4 texcel = texture2D( tDiffuse, uv);
	float R = texcel.r;
	float G = texcel.g;
	float B = texcel.b;

	float minC = R;
	float maxC = R;
	if( G < minC )minC=G;
	if( maxC < G )maxC=G;
	if( B < minC )minC=B;
	if( maxC < B )maxC=B;
	//
	R = minC + maxC - R;
	G = minC + maxC - G;
	B = minC + maxC - B;
	vec4 bg_color = vec4(R,G,B,1.0);

	// 出力
	gl_FragColor = vec4(bg_color);

}
Chromatic aberration
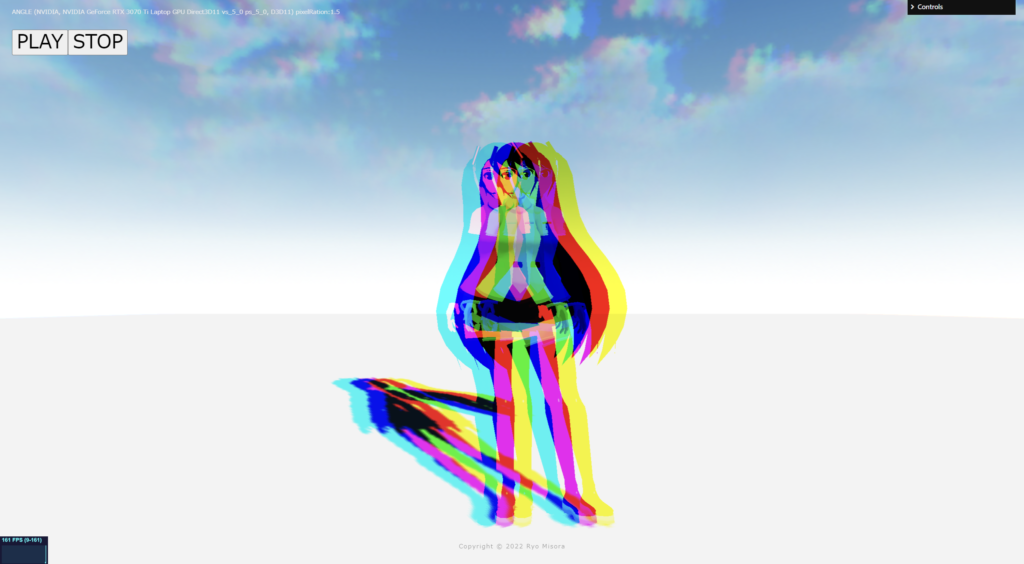
fragment.glsl
/*fragment.glsl*/
uniform sampler2D tDiffuse; /*表示される画像*/
uniform float time;
varying vec2 vUv;
void main() {
vec2 uv = vUv;
//色収差
float R = texture2D(tDiffuse, vec2( uv.x + sin(time)*0.02, uv.y )).r;
float G = texture2D(tDiffuse, vec2( uv.x, uv.y )).g;
float B = texture2D(tDiffuse, vec2( uv.x - sin(time)*0.02, uv.y)).b;
vec4 bg_color = vec4(R, G, B, 1.0);
// 出力
gl_FragColor = vec4(bg_color);
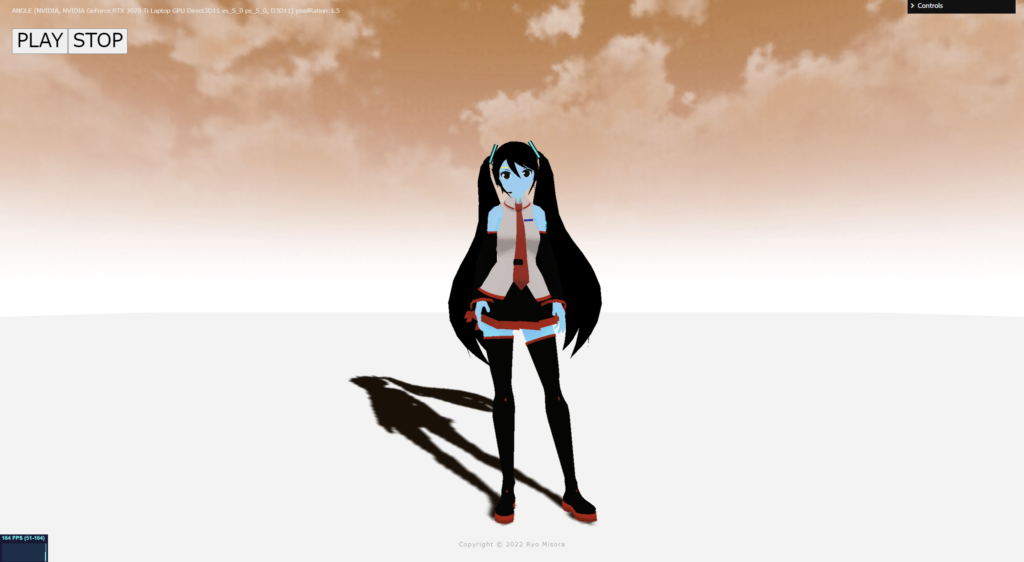
}Vignette
fragment.glsl
/*fragment.glsl*/
uniform sampler2D tDiffuse; /*表示される画像*/
uniform float time;
varying vec2 vUv;

void main() {
 	vec2 uv = vUv;

	//ビネット
	vec4 texcel = texture2D( tDiffuse, uv);
	//
	vec2 fuv = -1.0 + 2.0 * uv;
	float L = length(fuv);
	//L = 1.0 - L;
	//vec4 bg_color = vec4(texcel.rgb * L, 1.0);

	float W = exp( -0.5 * L * L );
	vec4 bg_color = vec4(texcel.rgb * W, 1.0);

	// 出力
	gl_FragColor = vec4(bg_color);

}
Light Leaks
fragment.glsl
/*fragment.glsl*/
#define PI 3.14159265359
uniform sampler2D tDiffuse; /*表示される画像*/
uniform float time;
uniform vec2 u_resolution;
uniform float uStep; // <= パラメータ 0~1

varying vec2 vUv;

// 2D Random
uvec3 k = uvec3(0x456789abu, 0x6789ab45u, 0x89ab4567u);
uvec3 u = uvec3(1, 2, 3);
const uint UINT_MAX = 0xffffffffu;
uint uhash11(uint n){
    n ^= (n << u.x);
    n ^= (n >> u.x);
    n *= k.x;
    n ^= (n << u.x);
    return n * k.x;
}
uvec2 uhash22(uvec2 n){
    n ^= (n.yx << u.xy);
    n ^= (n.yx >> u.xy);
    n *= k.xy;
    n ^= (n.yx << u.xy);
    return n * k.xy;
}
uvec3 uhash33(uvec3 n){
    n ^= (n.yzx << u);
    n ^= (n.yzx >> u);
    n *= k;
    n ^= (n.yzx << u);
    return n * k;
}
float hash11(float p){
    uint n = floatBitsToUint(p);
    return float(uhash11(n)) / float(UINT_MAX);
}
float hash21(vec2 p){
    uvec2 n = floatBitsToUint(p);
    return float(uhash22(n).x) / float(UINT_MAX);
}
vec2 hash22(vec2 p){
    uvec2 n = floatBitsToUint(p);
    return vec2(uhash22(n)) / vec2(UINT_MAX);
}

// 2D Noise based on Morgan McGuire @morgan3d
// https://www.shadertoy.com/view/4dS3Wd
float noise (in vec2 st) {
    vec2 i = floor(st);
    vec2 f = fract(st);

    // Four corners in 2D of a tile
    float a = hash21(i);
    float b = hash21(i + vec2(1.0, 0.0));
    float c = hash21(i + vec2(0.0, 1.0));
    float d = hash21(i + vec2(1.0, 1.0));

    // Cubic Hermine Curve.  Same as SmoothStep()
    vec2 u = f*f*(3.0-2.0*f);
    // u = smoothstep(0.,1.,f);

    // Mix 4 coorners percentages
    return mix(a, b, u.x) +
            (c - a)* u.y * (1.0 - u.x) +
            (d - b) * u.x * u.y;
}

void main() {
 	vec2 uv = vUv;
    vec4 bg_color = texture2D(tDiffuse, uv);

    // 虹色
    vec3 col = vec3(uv.x, uv.y, 1.0);

    //
    // ライトリーク
    //

    float divnum = 3.0;
    vec2 pos = vec2( uv.x*divnum + time*0.5, uv.y*divnum + time*0.5 );
    // 0 ~ 1.0
    float n = clamp(noise(pos) - 1.0 + uStep*2.0, 0.0, 1.0);

    //B
    col += n;
    vec3 bg_color2 = mix(bg_color.rgb, col, n);
    //
    gl_FragColor = vec4( bg_color2, 1.0 );
}
Lens Dart
fragment.glsl
/*fragment.glsl*/

uniform sampler2D tDiffuse; /*表示される画像*/
varying vec2 u_resolution;
uniform float time;
uniform float uStep;
varying vec2 vUv;

// 2D Random
uvec3 k = uvec3(0x456789abu, 0x6789ab45u, 0x89ab4567u);
uvec3 u = uvec3(1, 2, 3);
const uint UINT_MAX = 0xffffffffu;

uvec2 uhash22(uvec2 n){
    n ^= (n.yx << u.xy);
    n ^= (n.yx >> u.xy);
    n *= k.xy;
    n ^= (n.yx << u.xy);
    return n * k.xy;
}

vec2 hash22(vec2 p){
    uvec2 n = floatBitsToUint(p);
    return vec2(uhash22(n)) / vec2(UINT_MAX);
}

//////////////////////////////////////////////////

float Bokeh(vec2 p, vec2 sp, float size, float mi, float blur)
{
    float d = length(p - sp);
    float c = smoothstep(size, size*(1.-blur), d);
    c *= mix(mi, 1., smoothstep(size*.8, size, d));
    return c;
}

// vec2 hash( vec2 p ){
// 	p = vec2( dot(p,vec2(127.1,311.7)),dot(p,vec2(269.5,183.3)));
// 	return fract(sin(p)*43758.5453) * 2.0 - 1.0;
// }

vec3 dirt(vec2 uv, float n)
{
    vec2 p = fract(uv * n);
    vec2 st = ( floor(uv * n) + 0.5 ) / n;
    vec2 rnd = hash22(st);
    //
    float c = Bokeh(p, vec2(0.5, 0.5) + vec2(0.3) * rnd, 0.1, abs(rnd.y * 0.4) + 0.3, 0.25 + rnd.x * rnd.y * 0.2);

    return vec3(c) * exp(rnd.x * 4.0);
}


void main() {

 	vec2 uv = vUv;
	vec4 bg_color =  texture2D(tDiffuse, uv);

  vec3 di = dirt(uv, 4.0);
  //di += dirt(uv - vec2(0.5), 1.5);
  //di += dirt(uv- vec2(0.3), 2.5);
  di += dirt(uv- vec2(0.21), 2.75);
  di += dirt(uv - vec2(0.17), 3.5);

	////////////////////////////////////////////////////////////////////////////////////////
	// 出力
	//gl_FragColor = vec4(bg_color.rgb + di*0.02*uStep, bg_color.a);
  gl_FragColor = vec4(bg_color.rgb + di*0.02, bg_color.a);

}
そのほか
そのほかのテクニックが掲載されているサイトを紹介します。素晴らしいサイトなので、ぜひ参考にしてみてください。
ICS Media
次回も予定しています。もし良ければもう一つ記事を読んでいただき、Xをフォローしていただけると嬉しいです。